Popcosmo

a blog for everyone and their mothers

DIY Camera Lens Cap

DIYKim & Chloe3 Comments

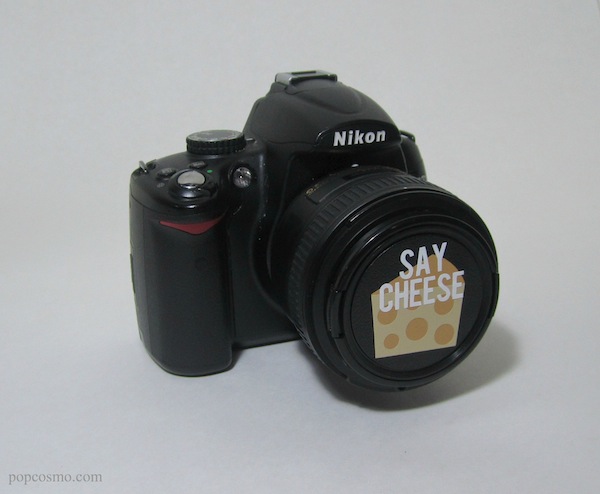
We've made camera straps, but I've never touched my camera when it comes to DIY. Seriously, how could you DIY your camera? Well, I found a way (you knew I would) with a DIY lens cap. I think these would even make my brother smile and say cheese instead of making his usual silly face. DIY Donut Camera Lens Cap
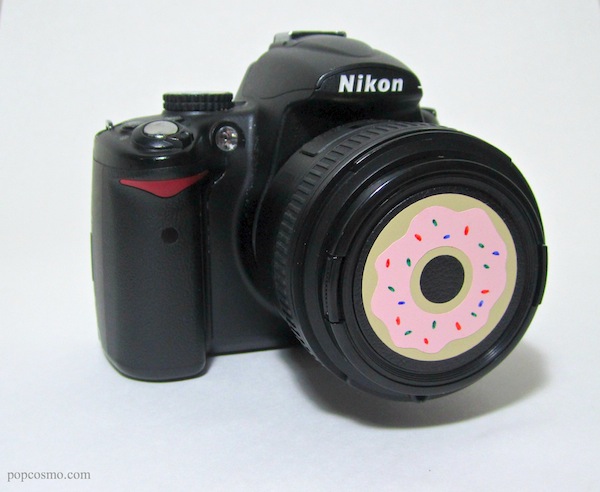
Supplies: Snap on lens Cap* Cricut vinyl (Happy note: Cricut vinyl is on sale through 3/4!) Cricut transfer tape (for "say cheese") Cricut Explore *We ordered a plain lens caps here. To determine what size you need you can find it by looking on your lens for the symbol Ø with a number next to it. This number is the size in millimeters of your filter threads, which is the size cap you need. This marking typically appears either on the rim of the front of your lens, or on the side of your lense barrel.

Instructions:

If you’re using a Cricut Explore, use Cricut vinyl to create the camera lens caps. Directions are below. Otherwise, you could use an Exacto knife or punches to cut out the shapes that you want to create.

1. Open up Cricut Design Space and click “New Project” 2. Then click “insert images” 3. Search “donut” and find one that you like! (We used the donut part of Studio DIY’s and created our own frosting.) 4. Then click “insert image” 5. After it’s on your canvas, highlight the image and look at the bottom of your layers palate and click “ungroup.” 6. Then delete the frosting layer. (This is what we did, but feel free to leave all of Studio DIY's donut - hers is so cute, but we had created our idea before hers was available, and then printed the day it became available, so we wanted to use part of hers and ours to see how it looked! Of course hers is amazing!) 7. Next click “upload image” and then find your frosting layer. We simply drew our sprinkles on with Sharpies since they would have been tiny little dots! Here's our file you can upload.

donut lens cap 8. Next, measure the size of your lens cap and make your donut and frosting that size. 9. Then click the “Go” button and follow your on screen instructions.

Camera Lens Cap

To create the "Say Cheese" you would find a picture in Step 3 of cheese or cheese pizza or whatever cheese-y. Then use text and transfer tape to print & apply the words "Say Cheese."

It’s as simple as that! And the results are fun and different, and just might make someone smile. If you make one of these camera lens caps (or your own version), be sure to tweet or Instagram us a picture. We’d love to see your creations.

xo ~chloe


Spring Trends 2014: Peek-a-Boo

FASHIONKim & Chloe3 Comments

via Style.com

I love the trend of what I'd call peek-a-boo skirts and shirts. Mesh and perforated materials are a great layering pieces for spring. This Ann Taylor skirt hits everything I look for in spring trends 2014 - the price is right, and the look is tailored enough for the office or a night on the town. Reading the reviews, I'd either take it to the tailor for a quick $5 slit or order the petite, although I'm 5'7", so that it would hit closer to the knee.

Go all out with this stunning tech mesh bustier dress available in both black and white at a surprisingly affordable price from Milly {as seen on our Pinterest on Blair Eadie of Atlantic Pacific}. If you're like me and a bustier leaves you feeling a bit ….exposed, just wear the whole shebang and top it off with this mesh jacket with a stunning trapeze back. The jacket alone could be a seasonal statement piece that could carry you through to next winter. If you're wanting to pick up some pieces, this sweater/ top just screams spring with its shape and color and this sheer combo top is laid back enough to wear over anything, which you could sport with a bra (if you are bold) or under a blazer or with a tank top. And if you are looking to accessorize with just a touch of mesh or perforation to update your spring wardrobe, check out this cross-body bag or my beloved Pedro Garcia shoes or skater shoes (you know, similar to this popular pair).

via LuckyMag.com

Let me know if you are playing peek-a-boo to keep your wardrobe current with the latest for spring trends 2014. (and if you made it this far… let me know what you think happened to the heel in the 1st photo!) xo ~kim


DIY Jewelry Tray

DIYKim & Chloe19 Comments

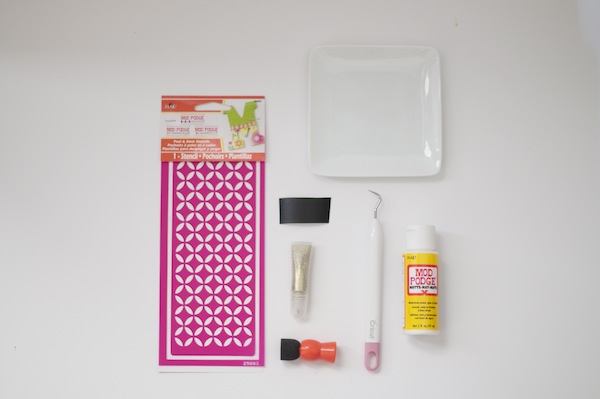
Like mother, like daughter: we tend to wear the same jewelry day in and day out. Occasionally, we'll change it up for a big occasion. But we both are a bit careless when we take our jewelry off at night, I set it my bathroom and Chloe sets her jewelry on her nightstand, both of us always with the thought of "I hope I don't accidentally knock anything off." This cute little tray solves our problem and we'll definitely be a few others and placing them around the house, like near the sink when I want to take off my rings. It would also make a fabulous customized gift. Supplies: 1-Modge Podge Rocks Peel & Stick Stencil (We were sent this stencil & loved it, but there are 6 adorable designs) 2-Modge Podge 3-pouncer 4-glitter (we used this glitter tube and since nobody loves a glitter mess - this was the perfect solution to direct where glitter went!) 5-Cricut vinyl & transfer tape 6-Cricut tool to peel vinyl 7-small tray

Supplies

Directions: Apply Modge Podge Rocks Peel & Stick where you want your design to be.

Apply Stencil

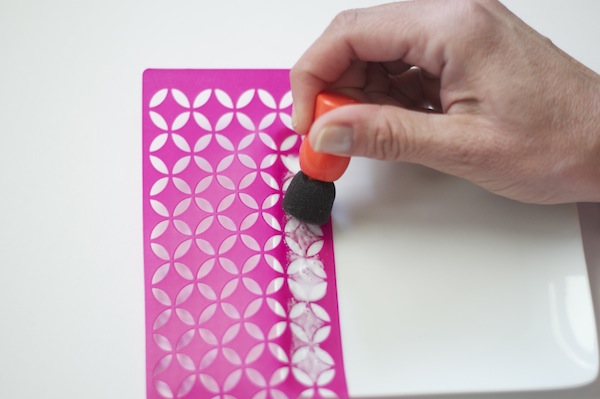
Use your pouncer to place Modge Podge over only the area of the design where you want the glitter to be located.

apply modge podge

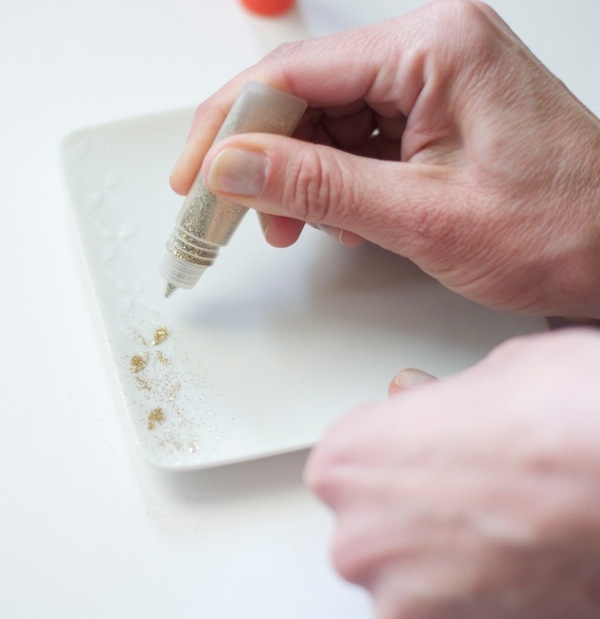
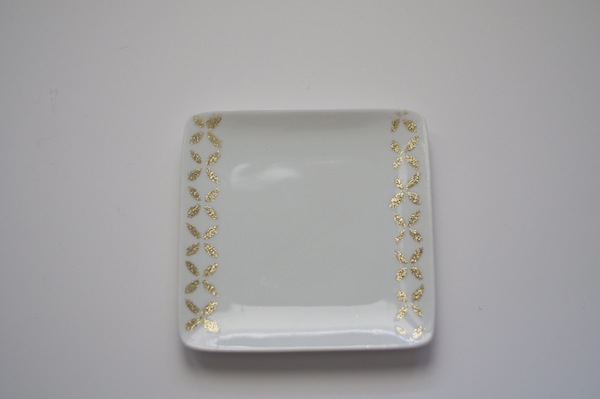
Lift the stencil and squeeze and direct glitter onto the area which has Modge Podge. Chloe and I love the glitter look, yet detest glitter clean-up. This was absolutely far and away the cleanest glitter project we have ever created! There just might be more glitter in our future, thanks to Amy at Modge Podge Rocks!!!

apply glitter

Repeat on the other side of the tray, or continue the pattern on all 4 sides. Once you have finished modge-podging all sides, place the stencil on the backing and rinse so that it can be re-used. Not only does Modge Podge rock, these stencils do too - they held the curved shape of our tray just fine.

jewelry tray

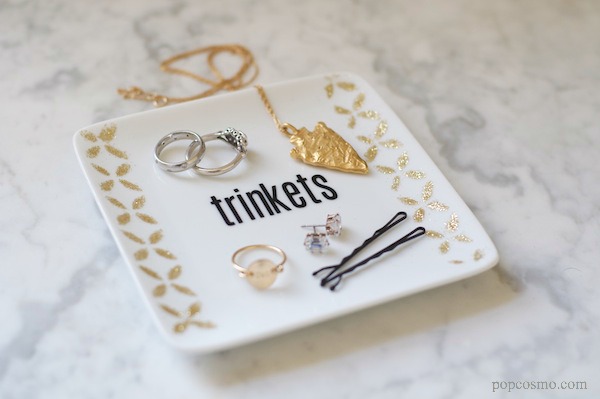
We then applied the Cricut vinyl (oh yeah, expect TONS more about our Cricut Explore to come very soon -we are experimenting right now, but will have loads and loads of projects for you in the near future!) for a simple, yet very effective jewelry tray and trinket tray. You could also apply a coat of Modge Podge over the glitter border to keep the glitter from flaking.

DIY jewelry tray

And that's it! No more searching for a ring here, and earring there anymore. You have all your jewelry in one place with our DIY jewelry tray. Hope you enjoy! xox ~kim & chloe