Our entire family loves cake pops, and Chloe loves to make them for her friends. She's made them for parties, teachers, friends, and classes at school for years. Most of her friends are now baking cake pops themselves, which means she's also a great teacher! But for this tutorial, we turned to our friend Kim of KC Bakes. We are honored to have her share her tips and awesome photos with us for a set-by-step cake pop tutorial. And we are delighted that we can help you get started with a hobby, a fun day in the kitchen, or turn your baking into a profit-making venture this summer! And we also have more sweets on a stick with a recipe for a super-simple chocolate lollipop...
Hi everyone, I’m Kim, founder of KC Bakes. A few years ago, I wanted to order a cool custom cake for my husband’s birthday. But after calling around to a few bakeries, I couldn’t afford the high bakery prices for all of that fancy fondant work. One of my favorite shows is Project Runway, so in a true Tim Gunn “make it work” moment, I Googled how to make fondant, baked hubby a really cool cake and started off on an accidental baking journey. Then when cake pops popped onto the baking scene, I had to try those too! In this tutorial, I’ll share my tips and tricks for basic cake pops. They’re easy to do, and really fun to make with a group of friends.
Ingredients
• Baked cake, fully cooled
• Cake frosting
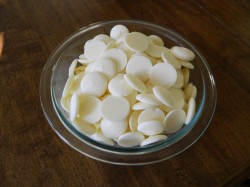
• Two bags of white candy melts
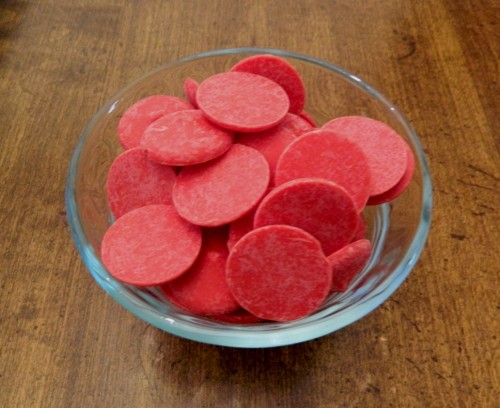
• One bag of red candy melts
Supplies
• Cake Pop Sticks
• 1.5” cookie scoop (like this)
• KC Bakes Cake Pop Stand (or Styrofoam)
• Ziploc sandwich bag
Cut your cooled cake into smaller pieces.
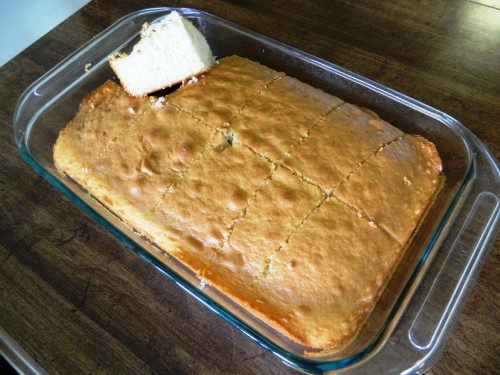
For best results, hand-crumble the entire cake. Some bakers like to use a food processor to crumb the cake. While it’s definitely quicker, I’ve found that process limits the amount of cake pops that you can get in one batch. The problem is that it makes the cake crumbs too fine, and when you mix in the frosting, the fine crumbs get absorbed into the frosting, rather than binding together. Your crumbs should look like this…
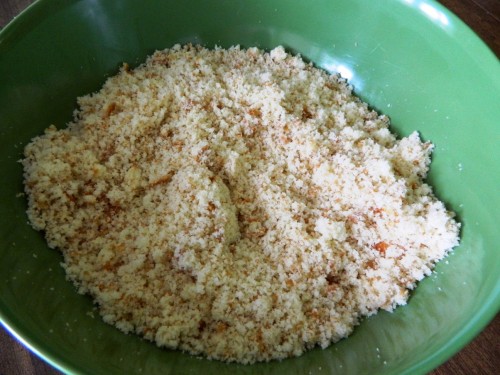
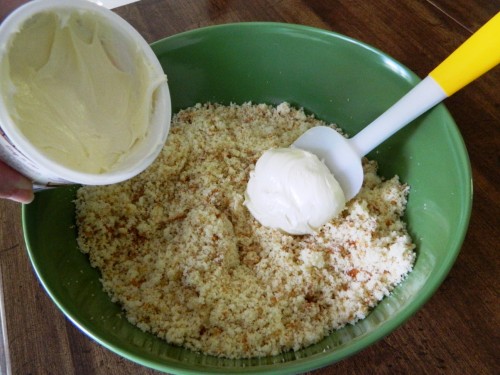
Mix in about 1/3 of the can of frosting, and remember these three words: less is more. You can always add more frosting later, but if you add too much up front, you’ll not be able to correct it.
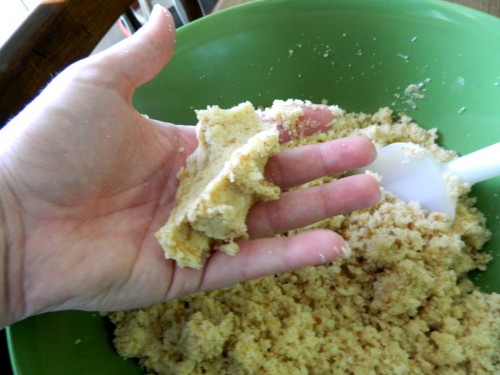
A good way to test if your cake mix is moist enough is if it holds its shape when you squeeze it in your hand. Try rolling it into a ball – if it stays together, you are good to go. If it starts to fall apart, mix a little more frosting into the cake mix.
Pack the cookie scoop full with the cake mix – similar to how you pack brown sugar into a measuring spoon, smush it in there nice and tight. Using a cookie scoop is a very effective way to get your cake balls to be consistently all the same size.
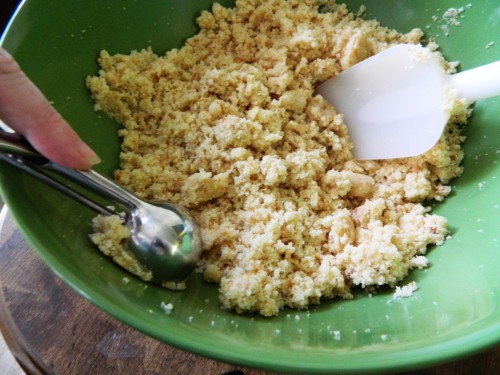
I like to scrape the scooper against the side of the bowl to make sure it’s fully packed. After ejecting the cake ball, you’ll see it’s a little rough-looking. Squeeze it a few times in your hand, then roll it into a smooth ball.
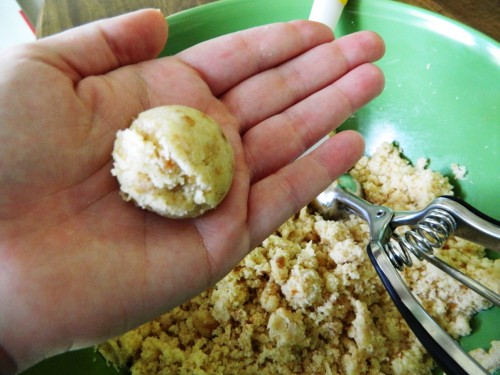
A standard 13”x9” boxed cake will yield about 36-40 cake balls. If the cake is overcooked, the edges can get too hard, and it will limit the amount of fluffy cake to turn into pops.
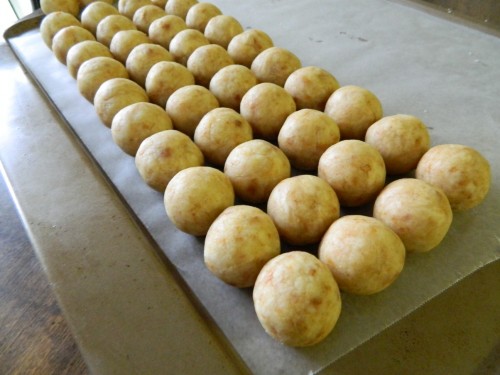
Divide your cake balls onto smaller plates and place them into the refrigerator for about 10 minutes or so, just enough to chill them. I leave them in there until I’m done melting the candy melts in the next step, and that timeframe works great. If they are left in there for too long, the cake balls tend to split when the stick is inserted. Having the cake balls divided onto smaller plates will help you in the dipping process. If you bring all of the cake balls out of the fridge at the same time, they will soften up as they rise to room temperature, and likely fall off of the stick when dipped. Place your candy melts into a microwave-safe bowl and melt according to the package directions.
It’s very important not to overheat your candy melts. The ideal consistency should flow smoothly off of a spoon. If it drops off thick or in clumps, it’s likely been overheated. In this case, try mixing in some cooking oil – again, less is more – add it in little by little, until you reach a good consistency.
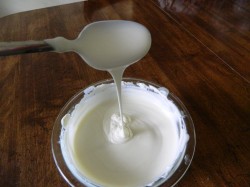
Bring a plate of cake balls out of the fridge. Dip the tip of the lollipop sticks into the melted candy, and insert them into the cake balls. Return that plate to the fridge, and repeat until all of the cake balls are finished.
Bring your first plate back out from the fridge. Holding the pop straight up and down, submerge it into the candy melts.
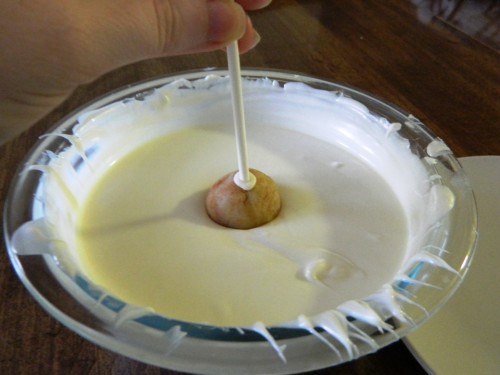
Lightly tap the stick against the bowl to remove all of the excess chocolate.
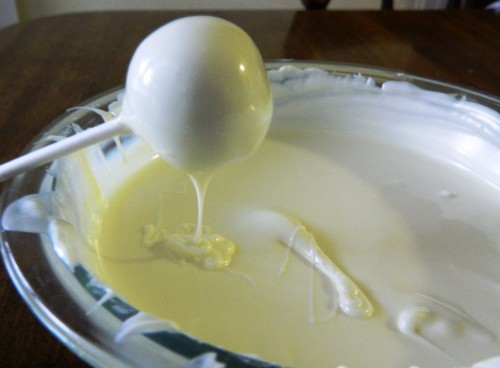
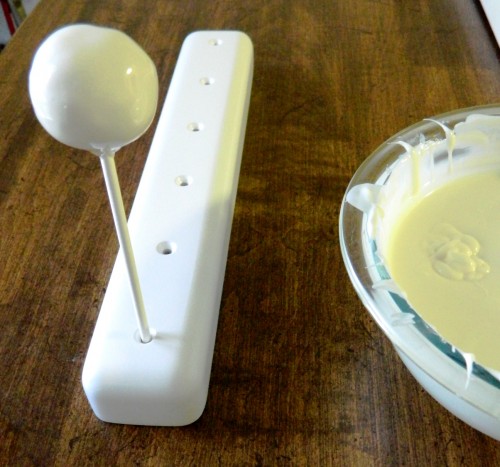
Place the cake pop into your KC Bakes stand (or Styrofoam) to allow the pop to dry.
Melt a small amount of candy melts for your drizzle.
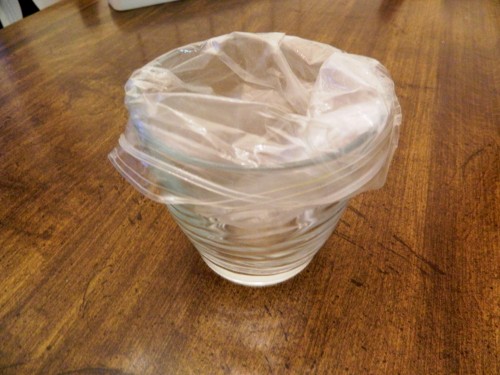
For an easy and mess-free way to fill your Ziploc bag, line a small cup with the bag. Pour in the melted candy, get most of the air out of the bag, and seal the zipper.
The temperature of your candy melts is important during this step. If it’s too hot, it will cause your cake pops to split open. Allow it to cool slightly, until its lukewarm.
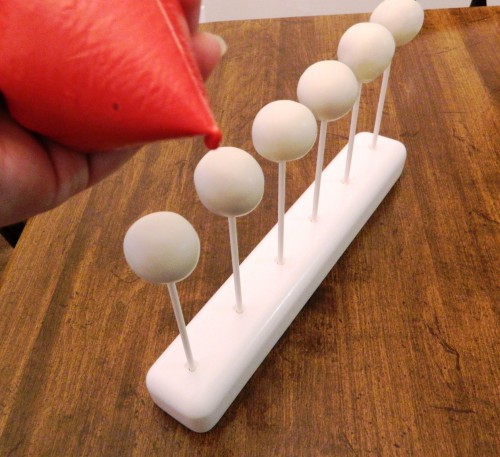
Snip a very small tip off of the corner of the bag, and drizzle the melted candy in a zig-zag pattern across the pops.
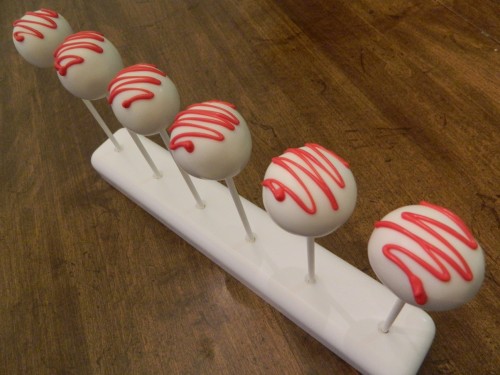
Ta daaaaaa. Cake pops!
If you’re feeling adventurous, we have a variety of tutorials on our website to teach you other decorating techniques such as side drizzle pops and cupcake pops:


Enjoy!
@popcosmo on Instagram


