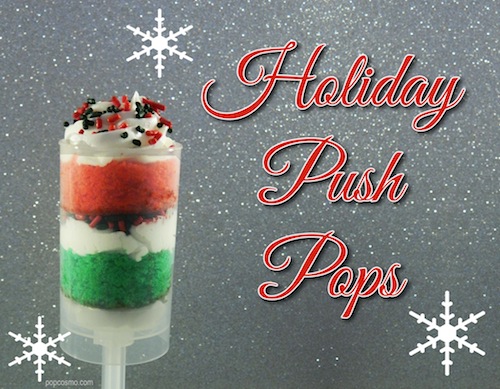
Kim from KC Bakes, our favorite cake pop princess, is back to show you creative Push Pop ideas for Christmas and Hanukkah that you can adapt for any time of the year or for any holiday desserts.
The winter holidays are a time of family, friends and food. Food is everywhere, especially holiday desserts… there are plates and pans of cakes, cookies & pie (oh my!).
If you are in charge of sweets for your holiday get-together, make sure you stand out from the crowd and bring something truly unique. Push Pops are sweeping the dessert world by storm... here's why.
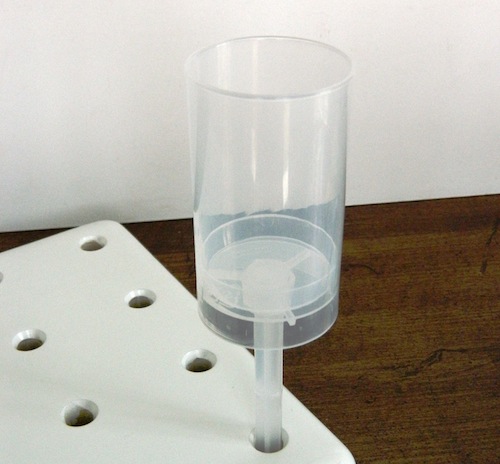
Push Pops go by a few different names… push pops, push up pops, push up cakes, push cakes, etc. They are basically a plastic cylinder that has a stick that will literally push the container’s contents up to the surface.
One of the most popular combinations for Push Pops is cake, frosting and sprinkles. Who needs plates and utensils? Cake Push Pops are mess-free and easy to serve.
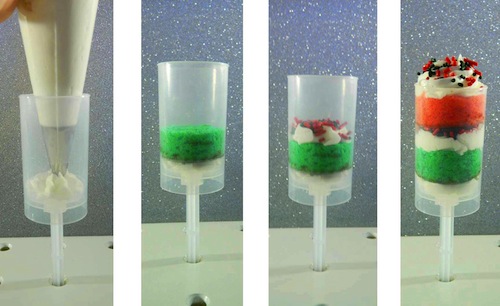
Since the cylinder container is see-through, it’s a great way to use color-themed food to match the occasion you’re baking for.
For these Christmas-colored cakes, all you need is a box of cake mix, the ingredients it calls for and food coloring! White cake mix is preferable, as some vanilla cake mixes can have an off-white or yellow-ish hue.
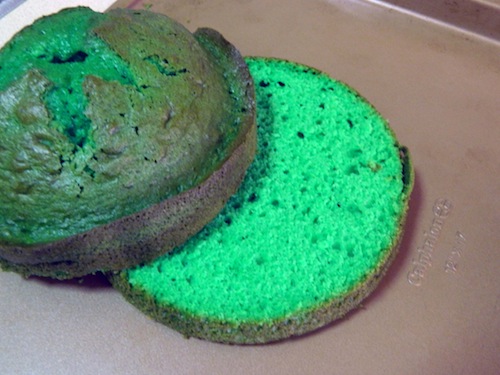
When the green cake comes out of the oven, it doesn’t look super pretty… see the top and sides? Fear not! This is just the “crust” or the sides of the cake that were exposed to the direct heat. Make an even slice across the cake and it will reveal a beautiful shade of green.
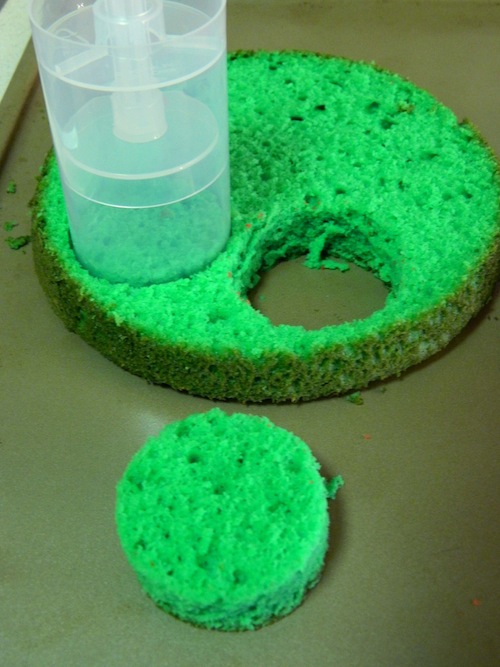
To get the perfect circle shape, use the actual Push Pop container itself to cut out discs of cake.
To add some extra flavor and texture, try adding crushed candy cane pieces in between the layers!
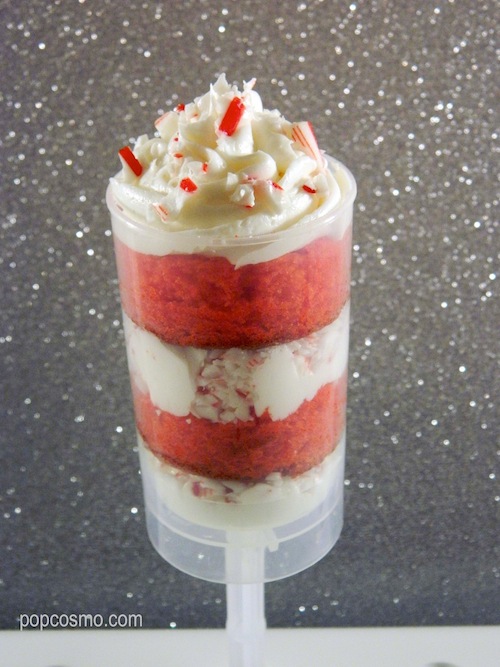
The holiday season can get expensive, and food shopping is no exception. Bags of candy cane pieces can range from $2.99 to $5.99 depending on the brand; don’t even bother with those. A box of regular candy canes is $0.99 at AC Moore, just smash them up yourself. And let’s be honest, it’s more fun to whack them with a hammer! Just make sure you have the candy canes in a thick plastic bag – the broken pieces can pierce the bag as you smash them, and then you wind up with a mess all over your counter.
Feeling festive? Party City had these cute little Santa hats for $1 – they have little clips inside of them, so after your guests eat the pop, they can wear the hat!

The great thing about Push Pops is that you can decorate the outside of the container however you like since it does not come into contact with the food product inside. Meet… Rudolph the Red-Nosed Push Pop!
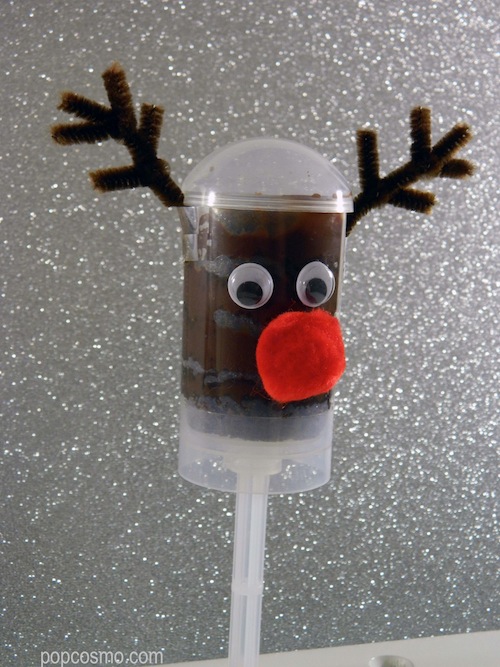
It’s much easier to fill the container first, and then decorate, so let’s do that first.
Now with all of the hustle and bustle of the holiday season, you may not have time to do a lot of baking. No problem! There are so many prepared desserts that you can convert into Push Pop fillers, and your party guests will never know.
This pre-sliced cake is perfect, it’s already cut into even strips for you!
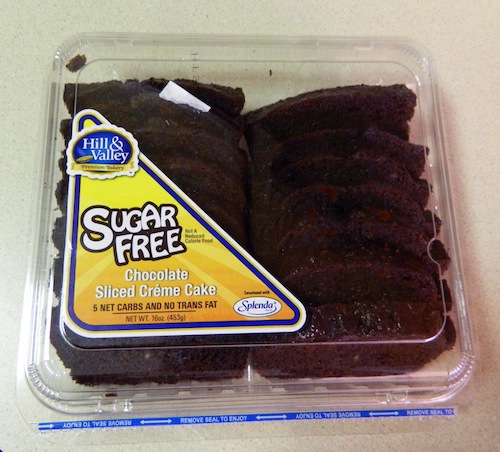
Using your Push Pop container, cut out discs of the cake and layer it in. I used Betty Crocker Cookie Icing in between the cake layers; it’s a great product because it comes ready-to-go in a piping bag.
For Rudolph’s features, you’ll need googly eyes, red pom poms and brown pipe cleaners, or “chenille stems”. To make the antlers, you’ll need two shorter pieces, and one longer piece. Twist the shorter pieces at their middle around the longer piece and voilá – antlers!

The eyes and nose were easy to glue on, but the antlers didn’t seem to want to stay in place. Cut some thin strips of clear tape to secure them in place; if you press the tape on well enough, it’s barely noticeable.
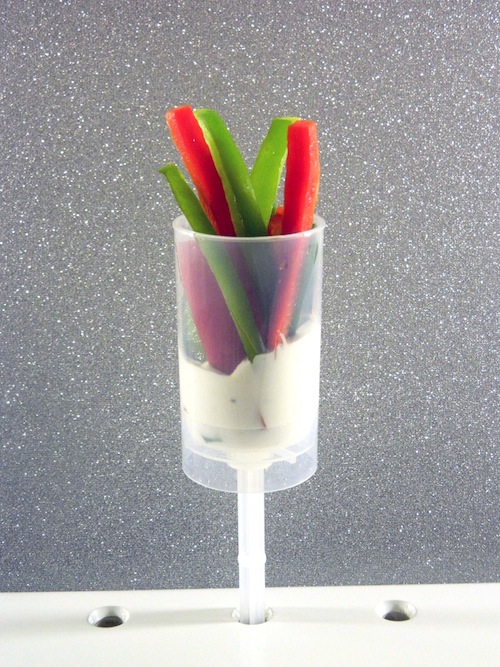
For the more health conscious guests at the party, there are a lot of Christmas-colored fruits and veggies that you can layer in your Push Pops. Slice up some red and green bell peppers for the perfect hand-held appetizer, complete with ranch dressing inside of the container!
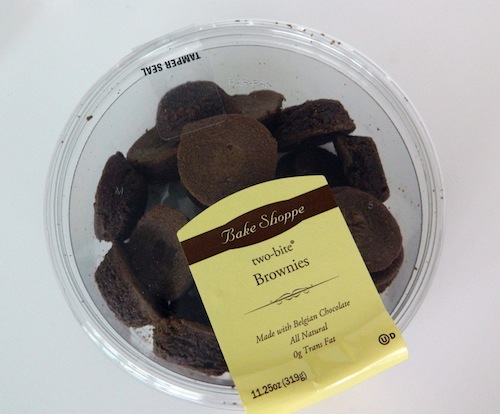
Now, since Hanukkah is already underway, I’ve got some more quick, no-bake ideas to fill your Push Pops. First up, brownie bites!
To jazz up the containers, I found these sparkly stickers at Party City as well.

Using teal and blue Wilton icing colors, tint your frosting as bold as you like. Remember to start off with just a little bit of dye, and add more as you go – you can always add more color, but you can’t remove color if you “over-dye”.
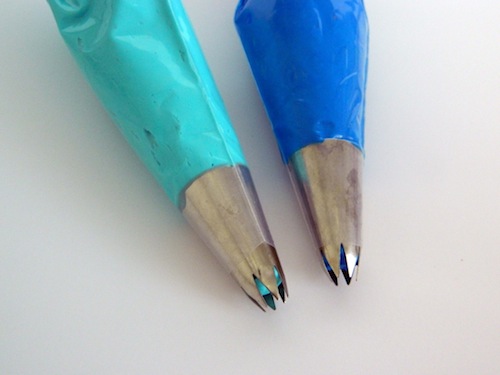
This pretty shape of icing (below) was made using a flower tip (metal icing tip, shown above).
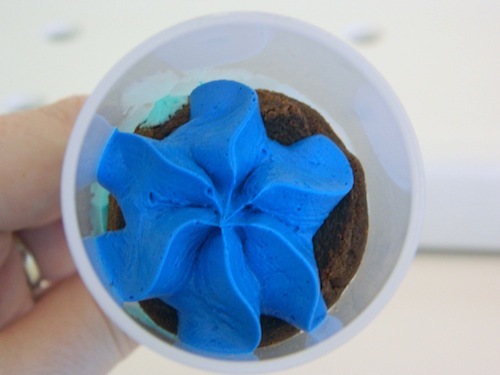
Ta da – the finished product, ready for a Hanukkah gathering!
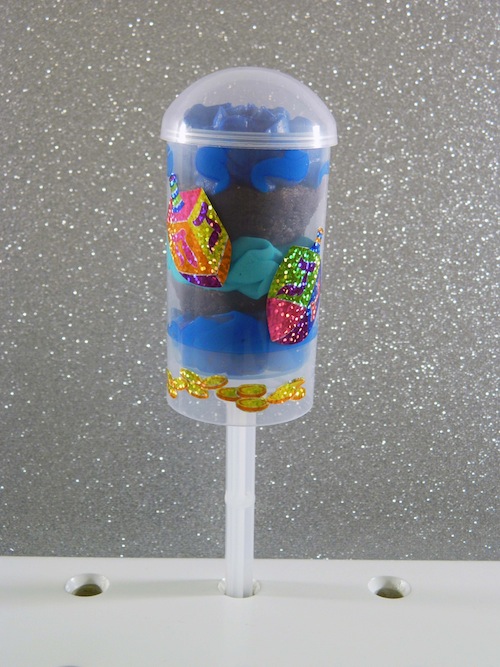
A word of caution regarding lids – use two hands! If you place the lid on the Push Pop, and push down on it without holding the sides of the container, this may happen…
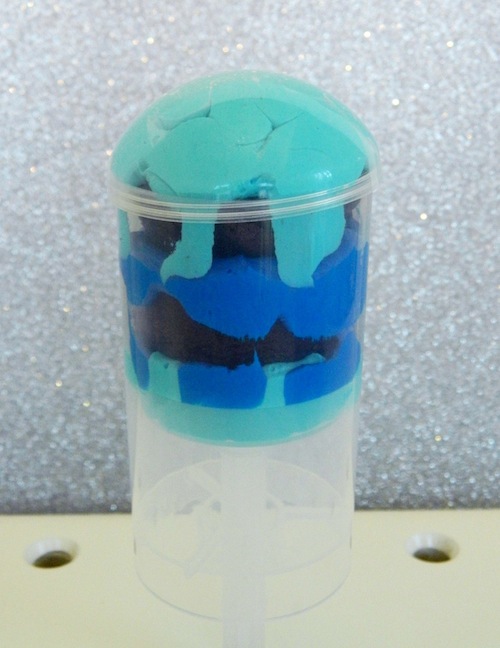
Whoops! No one is immune to baking bloopers! :oops:
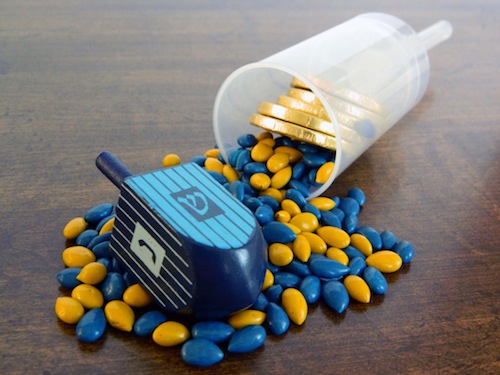
While I was at Party City, I spotted chocolate gelt and the bigger coins fit perfectly inside of the Push Pop containers! I had recently bought some chocolate-covered sunflower seeds at a farmer’s market, so I picked out the blue and yellow seeds and added those to the container as well. But it still needed something to finish it off… a dreidel!
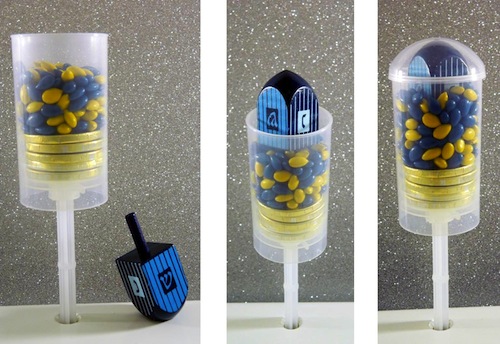
Since the dreidel is touching the sunflower seeds, be sure to wash it off before adding it to the mix. Just like the excitement of finding a prize at the bottom of a cereal box, the dreidel adds such a fun touch of whimsy to these Push Pops.
Holiday Push Pop Essentials
• Push Pop Containers (I bought mine from Global Sugar Art; great prices and fast shipping!)
• KC Bakes Push Pop Stands
Other Push Pop Filler Ideas
• PEEPS® Characters
• Donut Holes
• Cookies
• Mini Cupcakes
• Rice Krispy Treats
Push Pop Container Décor Ideas
• Hand-decorate or personalize the containers with Sharpie Markers
• Ribbon
• Washi Tape
• Sequins
• Rhinestones or craft ‘jewels’
Enjoy and let us know in the comments below which push pop is your favorite!







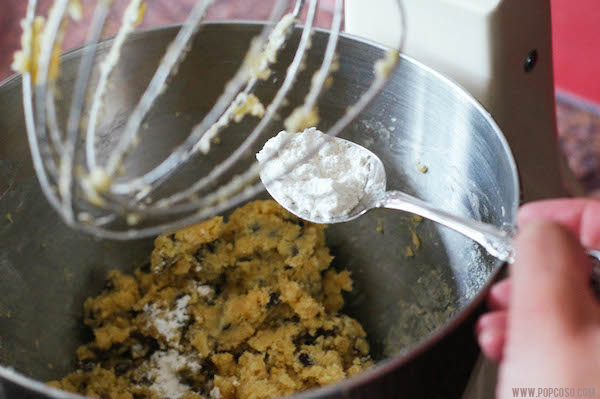
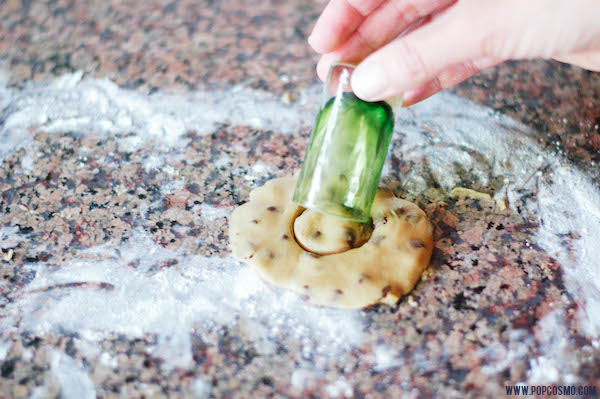
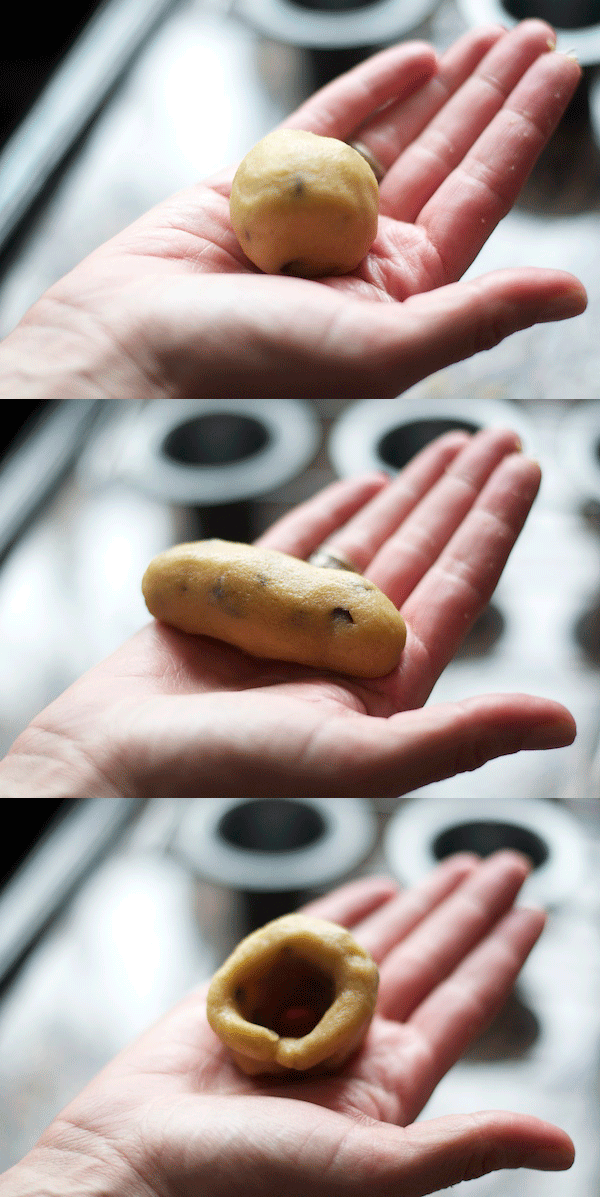
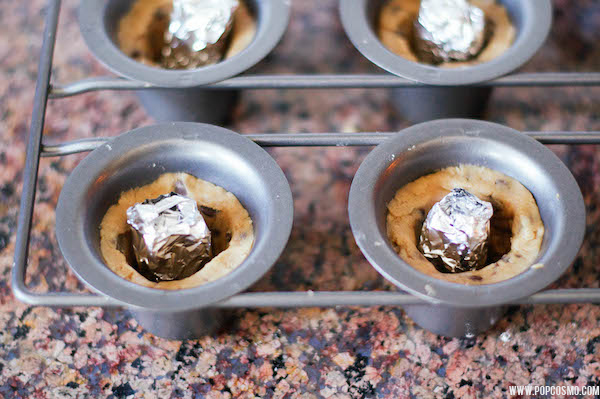


 Nothing says kick back and settle in for the holidays than your favorite homemade recipe. And ours is a newfound favorite of an old, old love: Oreos! Who doesn't love to dunk an Oreo while watching a football game or hanging out with family, or twist off and scrape the inside filling? Even the most dessert-resistant among us, ahem, my Mom, can't resist an oreo {or 5} in a package. My brother & I decided to not only make our own, but to create the most irresistible version of homemade Oreos ever... and we think we did (we created 3 batches and taste tested each one)!
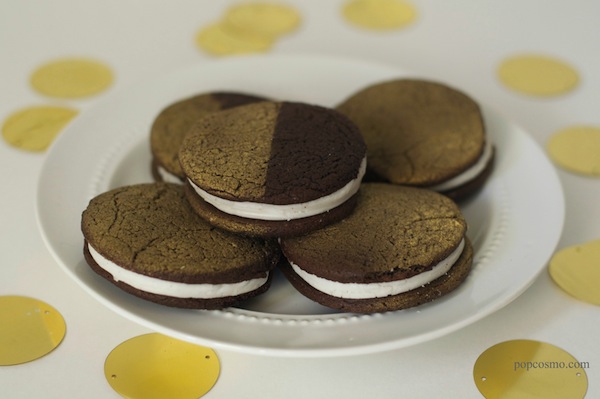
Plus, you know how much I like gilding just about anything that isn't nailed down lately, so I bet you're not surprised that we've created Golden Homemade Oreos for the holidays! They are not only perfect for Hanukah, we think they are perfect for Thanksgiving, Christmas, New Years... well, you get the idea. Just don't count on them sticking around for long, especially if my Mom is around.
