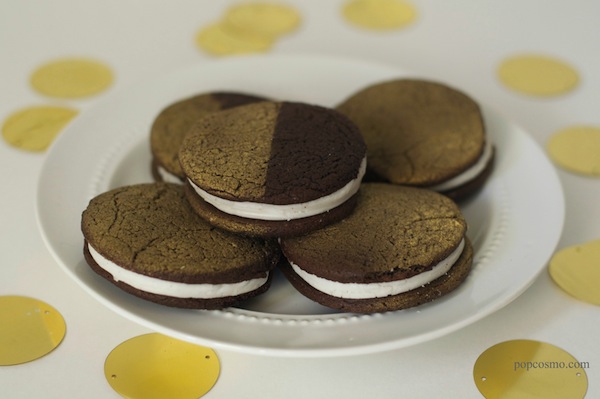
 Nothing says kick back and settle in for the holidays than your favorite homemade recipe. And ours is a newfound favorite of an old, old love: Oreos! Who doesn't love to dunk an Oreo while watching a football game or hanging out with family, or twist off and scrape the inside filling? Even the most dessert-resistant among us, ahem, my Mom, can't resist an oreo {or 5} in a package. My brother & I decided to not only make our own, but to create the most irresistible version of homemade Oreos ever... and we think we did (we created 3 batches and taste tested each one)!
Plus, you know how much I like gilding just about anything that isn't nailed down lately, so I bet you're not surprised that we've created Golden Homemade Oreos for the holidays! They are not only perfect for Hanukah, we think they are perfect for Thanksgiving, Christmas, New Years... well, you get the idea. Just don't count on them sticking around for long, especially if my Mom is around.

Golden Homemade Oreos Recipe
Cookie: One box 16.5 to 19-ounce chocolate fudge cake mix 1/3 cup water 2 to 4 Tbsp shortening gold food color spray - we used Wilton Color Mist
Filling: 3-1/2 cups powdered sugar 1/2 Tbsp granulated sugar 1/2 tsp vanilla extract 1/2 cup shortening 4 Tbsp hot water

Instructions:
1. Preheat oven to 325 degrees.
2. Blend all the cookie ingredients with an electric mixer, then knead with your hands until it reaches the consistency of dough.
3. Roll the dough until it's a bit thicker than Oreo cookie thin (since they will thin out when cooking) and use a round cookie cutter to cut circles (we used a bottle cap). Place cookies 1/2" apart on greased cookie sheets. Bake for 4-6 minutes, or until as firm as you want (shorter for chewy, longer for crunchy).
4. Let cookies cool while you work on the filling.
5. Combine filling ingredients in an electric mixer and then mix with your hands until fully combined.
6. Once well combined, form balls about 1/2" - to 3/4" in diameter.
7. Place the filling ball in the center of the flat side of a cooled cookie and press with the flat side of another cookie until the filling spreads to the edge.
8. Take a piece of Glad Press & Seal and wrap tightly around the cookie and spray to achieve a 1/2 gold - 1/2 black cookie. To create an all gold cookie, just lightly spray your cookie. You could easily use cutouts and place them on the cookie held in place with some icing to create all sorts of shapes, but we like simple geometric boldness in our cookies!
The amount of cookies will depend on the size of your cookie cutter. Our homemade Oreos were about 2" in diameter and made approximately 15-20 cookies.
Recipe adapted from More Top Secret Recipes by Todd Wilbur
And it's time again for our Holiday Extravaganza with our Fall Friends. Check out what some of our crafty blog friends have created this week for the fall & holidays and you might want to check in each Monday for more inspiration.
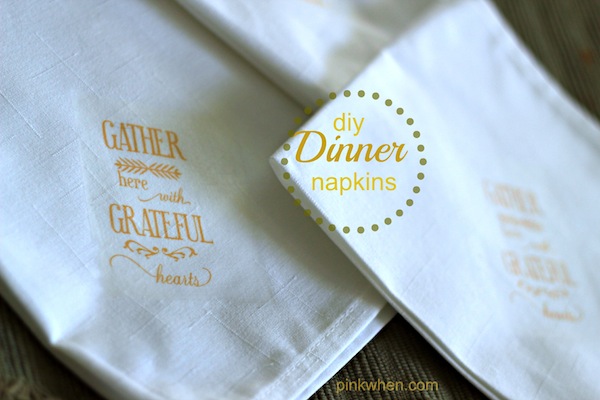
DIY Dinner napkins by Pink When
Thanksgiving conversation starter game (free printable) on The Pinning Mama
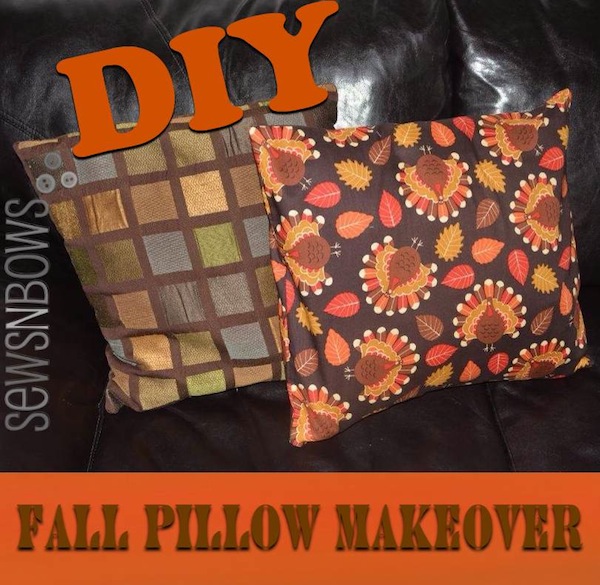
 Fall pillow makeover on Sews N Bows
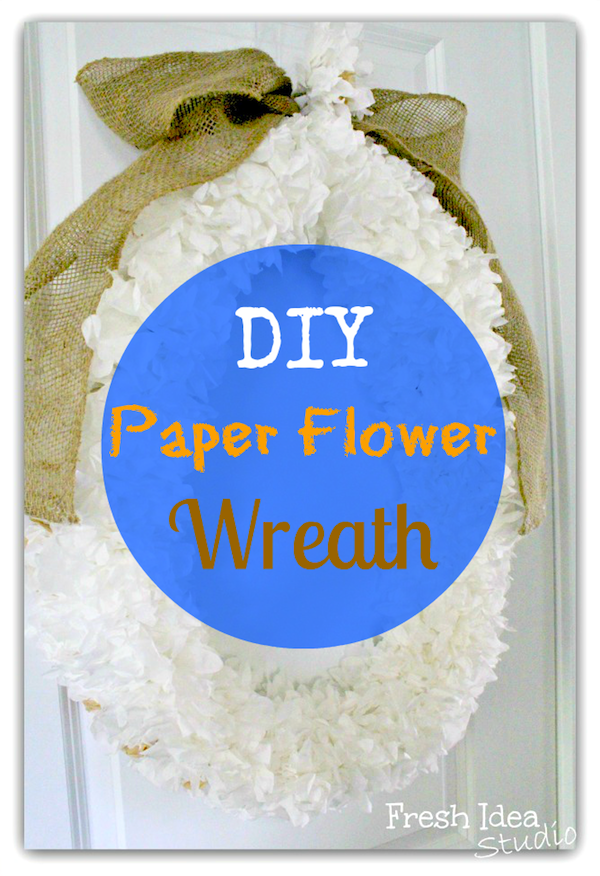
DIY Paper Flower Wreath by Fresh Idea Studio
http://popcosmo.com/wp-content/uploads/2013/10/OREOS-labelled .jpg


