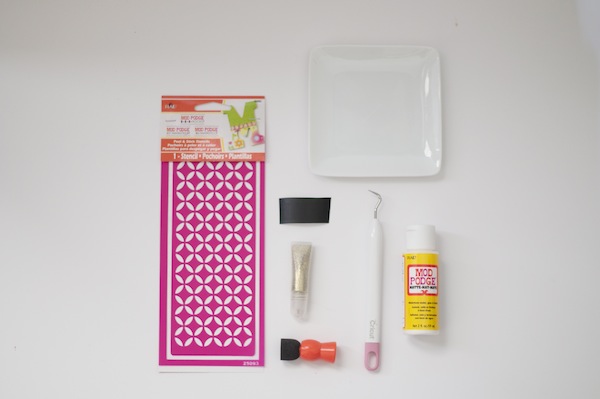
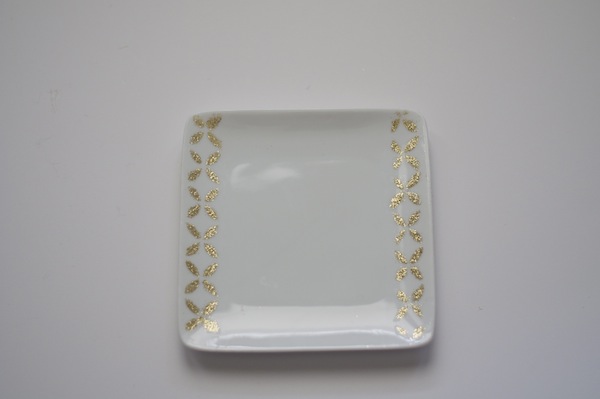
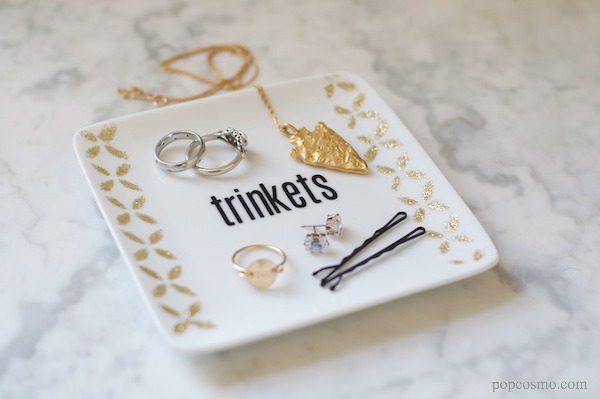
Like mother, like daughter: we tend to wear the same jewelry day in and day out. Occasionally, we'll change it up for a big occasion. But we both are a bit careless when we take our jewelry off at night, I set it my bathroom and Chloe sets her jewelry on her nightstand, both of us always with the thought of "I hope I don't accidentally knock anything off." This cute little tray solves our problem and we'll definitely be a few others and placing them around the house, like near the sink when I want to take off my rings. It would also make a fabulous customized gift. Supplies: 1-Modge Podge Rocks Peel & Stick Stencil (We were sent this stencil & loved it, but there are 6 adorable designs) 2-Modge Podge 3-pouncer 4-glitter (we used this glitter tube and since nobody loves a glitter mess - this was the perfect solution to direct where glitter went!) 5-Cricut vinyl & transfer tape 6-Cricut tool to peel vinyl 7-small tray
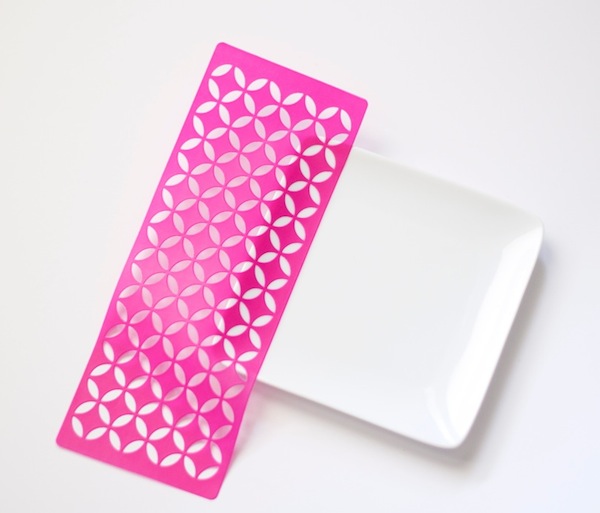
Directions: Apply Modge Podge Rocks Peel & Stick where you want your design to be.
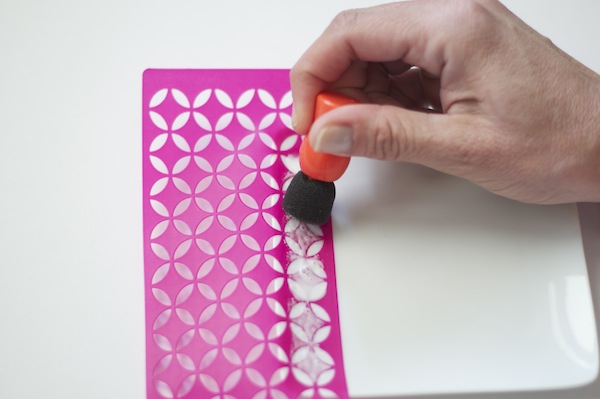
Use your pouncer to place Modge Podge over only the area of the design where you want the glitter to be located.
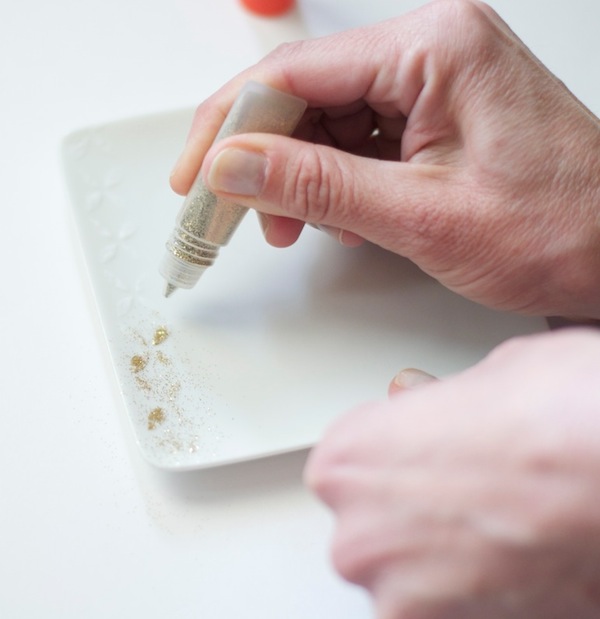
Lift the stencil and squeeze and direct glitter onto the area which has Modge Podge. Chloe and I love the glitter look, yet detest glitter clean-up. This was absolutely far and away the cleanest glitter project we have ever created! There just might be more glitter in our future, thanks to Amy at Modge Podge Rocks!!!
Repeat on the other side of the tray, or continue the pattern on all 4 sides. Once you have finished modge-podging all sides, place the stencil on the backing and rinse so that it can be re-used. Not only does Modge Podge rock, these stencils do too - they held the curved shape of our tray just fine.
We then applied the Cricut vinyl (oh yeah, expect TONS more about our Cricut Explore to come very soon -we are experimenting right now, but will have loads and loads of projects for you in the near future!) for a simple, yet very effective jewelry tray and trinket tray. You could also apply a coat of Modge Podge over the glitter border to keep the glitter from flaking.
And that's it! No more searching for a ring here, and earring there anymore. You have all your jewelry in one place with our DIY jewelry tray. Hope you enjoy! xox ~kim & chloe


