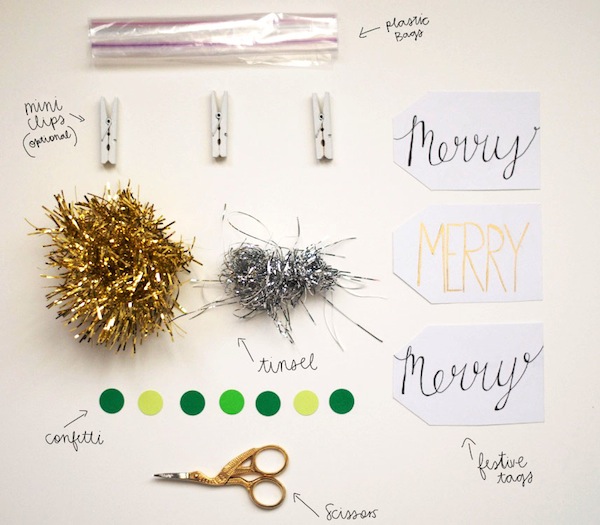
So we've got our gifts wrapped in a cute wrapping (see our pompom gift wrap) and now it's time for gift tags. We chose to make tags inspired by snow globes. They are not actually snow globes, but these holiday tags totally remind us of them! Shake them up and watch the confetti (or whatever you choose to put inside them) move around. Here's how we made them. Step 1: Gather your supplies:
*we used plastic baggies, but you can use any clear covering such as vellum paper which will give them an "artsy" faded look. We think it would great over a black and white photo with gold glitter "snow"!
Step 2: Make confetti (use a hole punch) or make gold or silver pieces from tinsel or garland. You can also use glitter.
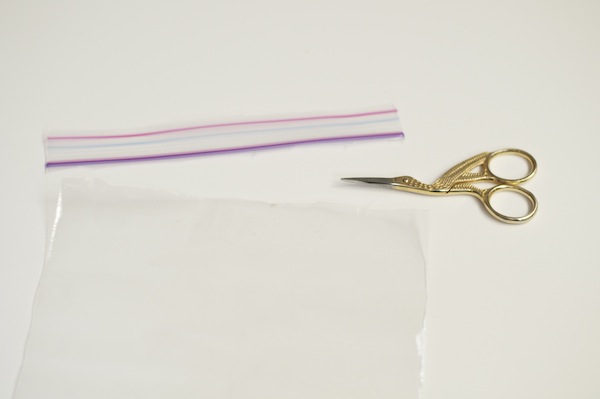
Step 3: Cut a baggie and use one side as a "wrap" for your tag. You'll be folding it over the top of your tag, so the size baggie you'll need will depend on the size of your tag. We also used vellum paper which gives a completely different look and feel… and the glitter moves more freely without the static from the plastic.
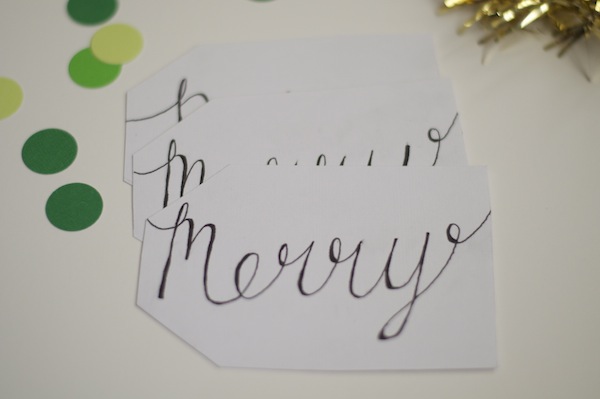
Step 4: Make your gift tags or put names on store bought gift tags. We cut corners on our rectangular tags to make them look extra-special gift taggy. (That's a word, right?)
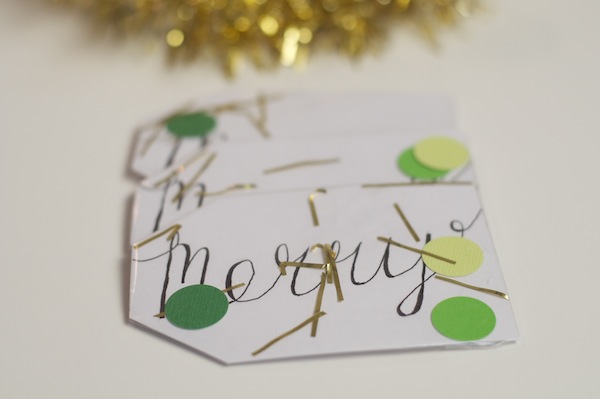
Step 5: Use your tape (not pictured in the supplies, oops!) on the back of the gift tag to secure a layer of the baggie on all but one side of the gift tag. On the open side, insert pieces of tinsel, confetti, glitter, etc. Then close the final side and secure. The first photo below (Merry) is using vellum. The others are using plastic.
To attach your gift tag to your gift, be creative! We found these adorable mini clips and decided to spray paint them white to attach them to some gifts. Since the back of our tag isn't as gorgeous as the front, it could also be glued or taped to the gift wrap and the entire gift could be shaken (it's non-breakable!). Whatever you use, make sure your tag can move to show how the tinsel shimmers and shines!
That's it… simple, fast and fun. Enjoy!

