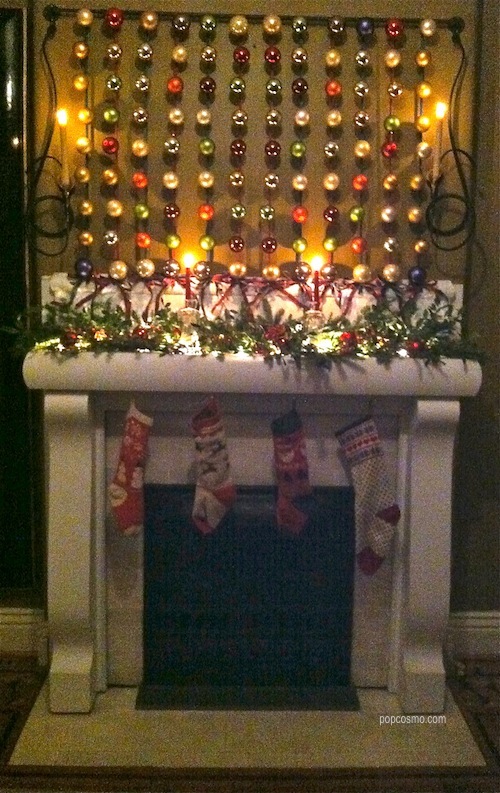
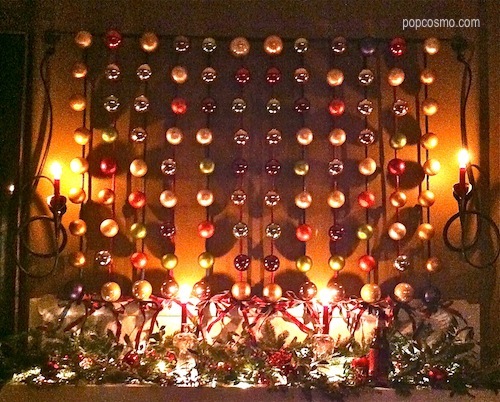
DIY Christmas decorations make us smile. And who doesn't love easy DIY Christmas decorations that are gorgeous and unique, plus can be made from supplies you probably already have lying around the house? But let me back up a step, and ramble a bit: I love my neighbors. They are amazingly nice, wonderfully welcoming, killer cooks, and throw some fabulous parties. To which they invite us. And feed us. And share their recipes. Plus, they excel in presenting the food at their parties and decorating for them, as well as making everyone feel at home, which is a true gift. So when I walked into their latest party and saw this extraordinary mantel decoration, I knew that they would share how they made it. Even though they saw something similar a few years ago and then took years to perfect the design and creation of it on their wall each year, they were thrilled to share how they made it with me... and you! See what I mean, I'm the luckiest neighbor in the world! Here's a breakdown step-by-step from the best neighbors in the world, you know who you are!
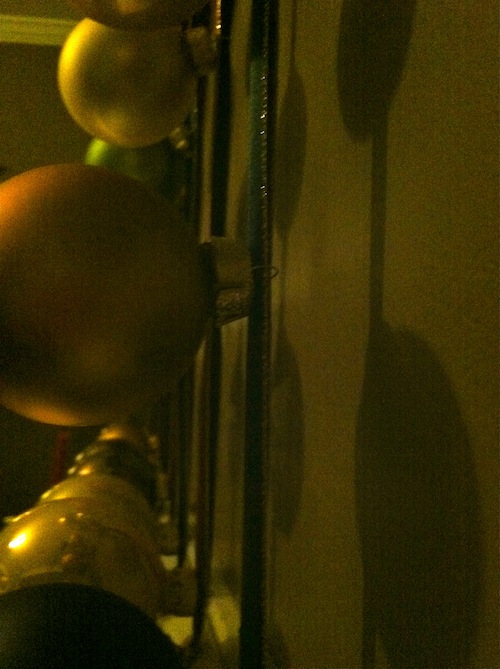
The only supplies you need are: 1/2" wide ribbon, lots of pretty ornaments with a wire looped back (see 3rd photo below for details), and a staple gun or strong stapler (depending on where it's being attached). The decoration pictured below hangs from a picture rod, but you could hang yours from anything that will allow you to staple or firmly attach the ribbon to the top and bottom. We think it could look awesome in a doorway or on a bookshelf or staircase... and great in blue and silver for Hanukah!
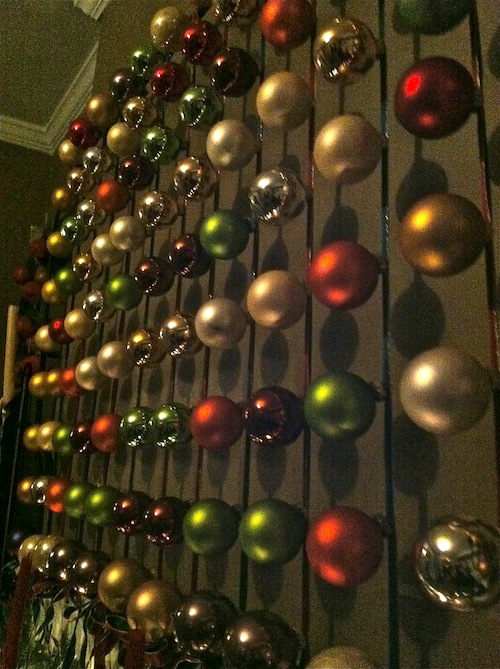
1. Loop the ribbon over the top of the picture rod and staple to the ribbon, or staple directly to the piece it's being mounted to. 2. Then string ornaments on the ribbon in the color of your choice. You can lay the pattern out on the floor beforehand in the size of the space you intend to cover so that you know how many ornaments will be strung on each ribbon and how many ribbons to use for your optimal design.
The keys to success, according to our wonderful neighbors, is to (a) pull the ribbon as tight as possible when affixing it at the bottom (so it needs to be a strong ribbon that won't tear easily), and (b) make sure you use ornaments with the loops as pictured below. 3) Staple the ribbon at the bottom and cover with bows, garland, etc. to enhance the overall look.
4) Once attached, adjust the spacing of the ornaments on each ribbon so that rows are evenly spaced across and down.
Step back and admire your amazing DIY Christmas decorations!
If you enjoyed this post... you might like these Holiday posts: Holiday PushPops
Holiday iPhone & Computer backgrounds


