
We're back with a follow-up to some of our most popular posts - How to do a French Manicure... Effortlessly and The New French Manicure! And the reason I wanted to try this technique is because I've changed the shape of my nails. Not to share too much information, but this fall with all my traveling and a recent trip to Denver which zapped every bit of moisture in me made my nails weaken and split. So, to make them a bit stronger, I changed the shape to make them a bit more square to hopefully stop the corners from splitting. Now the typical DIY Easy French Manicure I like to do isn't working anymore. But this one is, and it's just as easy, so give it a shot and let us know which one you like better. Plus, we think it will work for all nail sizes and widths!

Supplies needed: Base Coat Bandaids (at least 1 {it can be re-used} up to 5 if you prefer not to re-use) Tip color Scissors (to cut bandaid in 1/2)

Step 1: Paint your nails you base color and let dry... or like us, wait a few days and enjoy a mani and use this method to extend a manicure a few more days!

Step 2: Cut band-aids in 1/2 and apply them to each finger with the tips exposed for your tip nail color. Be sure to press down firmly. Once the polish is almost dry, carefully remove the band-aid for perfect lines.

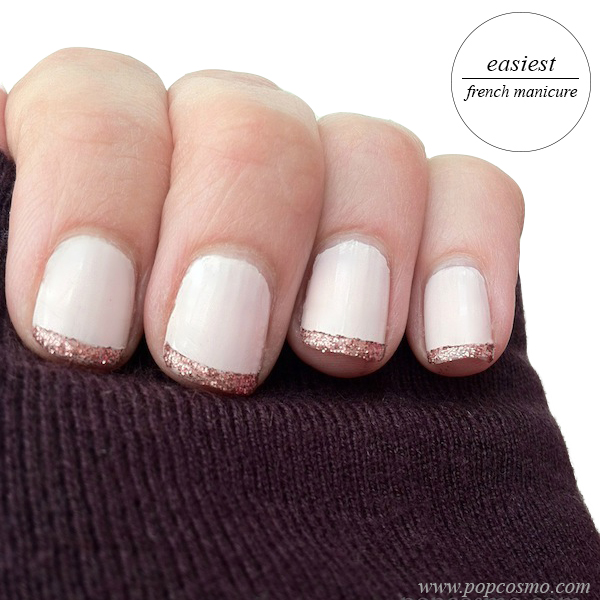
Step 3: Apply a clear top coat and enjoy your very easy french manicure!! Here's another option in dark grey and silver:

Enjoy your very easy french manicure and let us know which DIY french manicure you like best!
xo ~kim & chloe