Popcosmo

RANDOM STUFF

Free Downloadable Binder Covers

DIY, EXTRAS, RANDOM STUFFKim & ChloeComment
socialstudies.jpg

One of our all time most popular posts is our “Decorating Notebooks” post from a year ago. We thought that, since it’s still crazy popular, we should bring it back with better and bolder designs. I decided to create free downloadable binder covers for y’all and I hope you love them as much as I do. I can’t wait to use them this year for school! I’m planning on hopefully coming up with other designs, so if you aren’t head over heels with this set then be on the look out for different styles! Here’s how to create your own: 1.Click the link that says "download" and then download the "blank canvases” to your desktop 2.Upload them into Word, Pages, Photoshop, etc. 3.Use your favorite font to write your class name on the white part of the cover. (I used Antonio from Font Squirrel!) 4. Print!

free downloadable binder cover click here to download pink + blue + navy binder cover
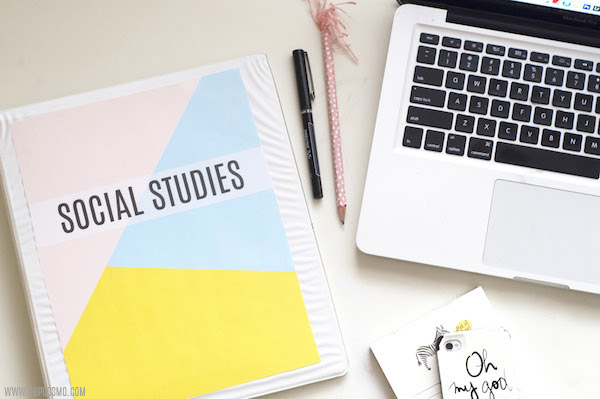
binder cover free download click here to download pink + blue + yellow binder cover
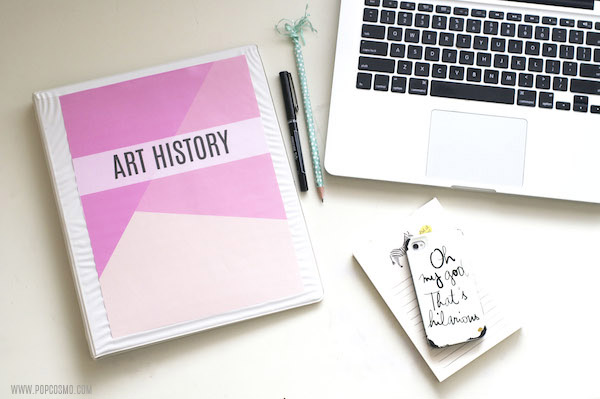
binder cover downloadable click here to download pink + pink + pink binder cover

Really! It’s that simple. Let me know what other patterns and color combos you would like to see… polka dots? watercolor inspired stripes? pink and green? yellow and mint green?

If you do happen to use these free downloadable binder covers, we’d love to see how they look! Tag us on Instagram or Twitter (@popcosmo) and you just might be featured on a blog post!

xox Chloe

Aesthetic Phases / 1

EXTRAS, RANDOM STUFFKim & ChloeComment
bananas.jpg

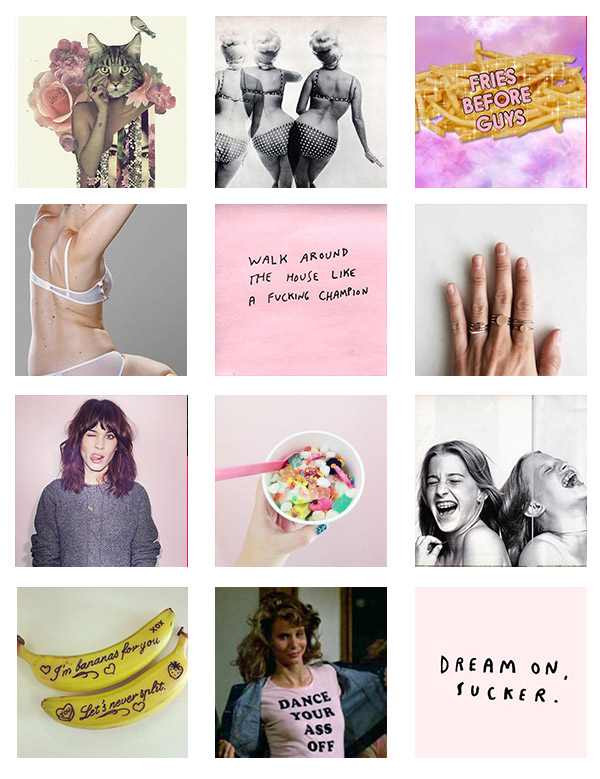
I don’t know if I’m the only one who goes through aesthetic phases, but I surely can’t be, right? If you follow us on Pinterest (you better be) then you might notice how every few weeks our “mood” shifts. It’s not a dramatic "tectonic plate inducing earthquake" shift, it’s more of a “let’s switch one or two pillows on the couch and see the difference” shift. I guess that’s why I’m not really a “fashion person” (sue me). I like being able to switch it up on a moments notice, so that’s why  I stick to more basic and simple clothes. Anyway, all I’m trying to say is that what I like and the aesthetics that I like are constantly shifting and changing. I decided to create this little mini series thing where I would create a mood board of my current likes. I have absolutely no idea how often (if at all) I will be posting these mood boards, but as Miley Cyrus once said “it’s my blog I can do what I want to.” Err, at least I think she said something along those lines…

aesthetic phases / 1 photo / photo / photo / photo / photo / photo / photo / photo / photo / photo /photo / photo / photo  This mood board doesn't really have a name, but if I had to choose one I think it would be along the lines of "Jen Gotch is my girl crush" or "this is what feminism looks like to me" or "pink is cute and strong" or "this mood board may be better off nameless."

Thanks for reading! Let me know what you think of this idea for a series! xox Chloe

How To Style Pictures On A White Background

BLOG TIPS, EXTRAS, RANDOM STUFFKim & ChloeComment
white-background.jpg

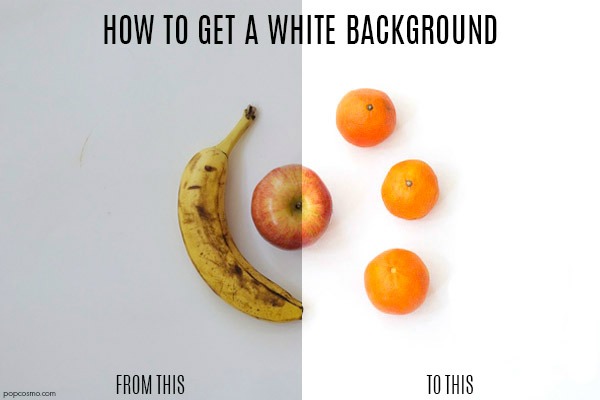
I’ve been getting a few emails recently asking how I take styled pictures on a stark white background. White backgrounds, for a blogger, are so important in showing items. The white allows the items to “pop” off the screen. White backgrounds as so important. The only problem is that sometimes the white isn’t so white. Often times the white turns out more on the yellow or grey side. And it can be VERY annoying. changing backgrounds in photos to white Today I’m going to save the day and tell you how I take my pictures on a white background so the white turns out white.

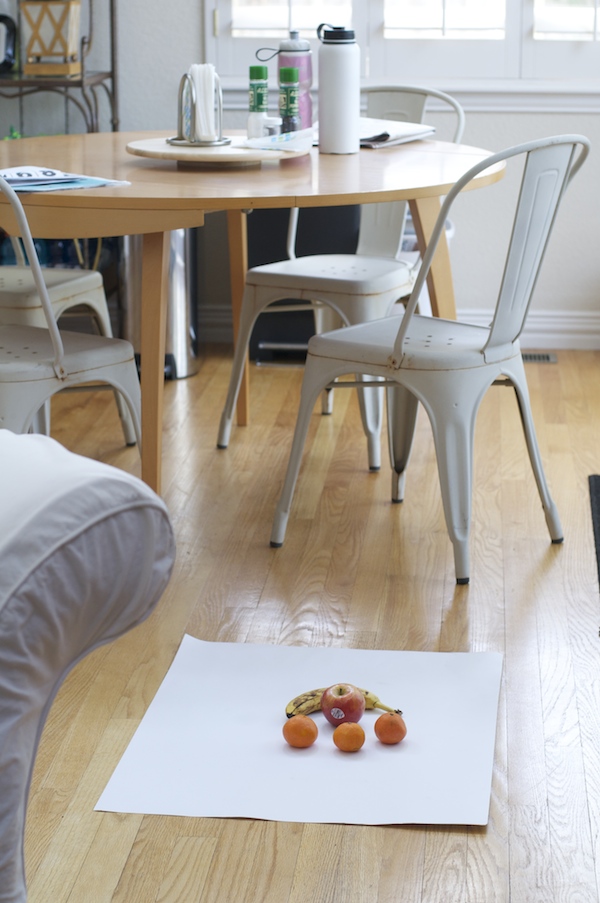
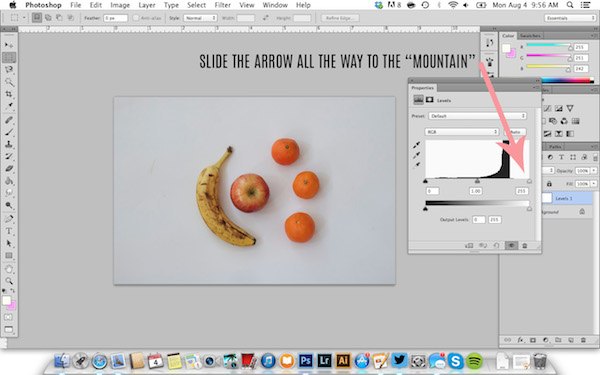
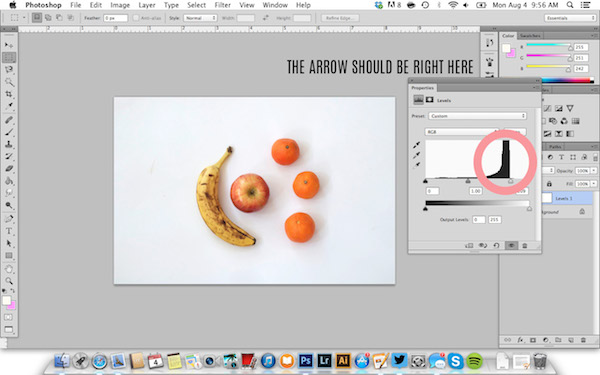
1. I use a white poster board as a background. They are cheap, moveable, and perfect for the job. 2. I then place my poster board near a window and turn off all lights. Natural light is the only way to go. Sometimes I have to wait until the next day to take pictures if I run out of time. It’s worth the wait to have natural light, trust me. 3. I shoot my camera on manual mode. This means that I can pick how exposed I want my picture. I typically overexpose my pictures on white backgrounds so that the white will be brighter. Sometimes overexposing doesn’t work (if you’re shooting a white or light colored object) so you just have to play around with it! 4. Once I am finally happy with a picture (sometimes it takes 100 shots of the same exact scene just with different angles) I upload the pictures on my computer. I then pick the one that looks best at first, aka minimal editing. 5. I then upload the picture in Photoshop and work around with it. I ALWAYS fix the “levels,” so that’s my starting point. I then also play around with the brightness and exposure. It usually depends on the picture for the amount you choose to apply of each. It’s like makeup ladies, the amount depends on the occasion.

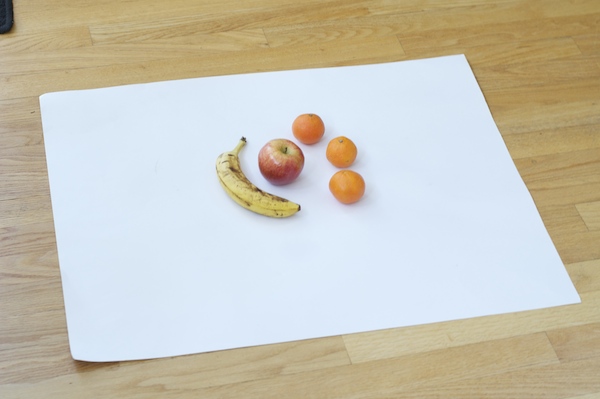
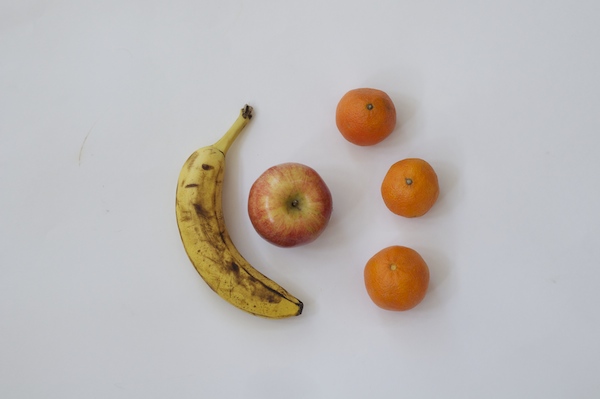
_DSC0026_DSC0017whitefruitBEFORE

the before

This is for "levels" in Photoshop. ARROW

LEVELS sometimes you just gotta place a poster board in the middle of your kitchen to get the best light (even if it makes your dad mad because "you have an entire basement and and an office to do your work")

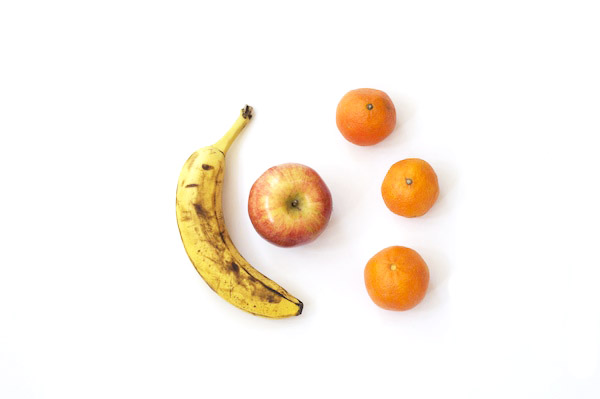
white background after

the after!

So there you have it! It’s pretty simple, but it did take me forever to figure it out. Taking styled pictures on a white background isn't always a piece of cake, but once you learn the process and practice you'll figure it out! Sometimes I just can’t get it so I start the whole process over with different natural light. I swear, the amount of natural light (or time of day) can completely screw you over or help you out.

Please let me know if this helped you out! I’d love to see your white background photos so tag us in your photo on social media (@popcosmo).

xox, Chloe

@popcosmo on Instagram