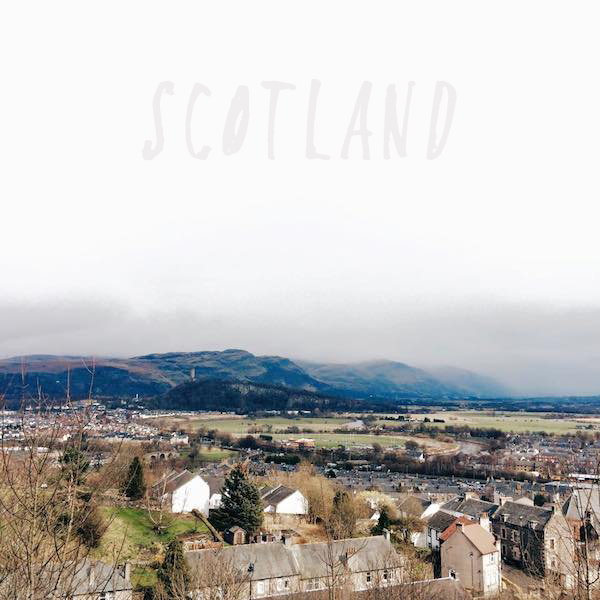
Long time, no talk, am I right? Sorry for the lack of posts this past week, but I have a good excuse… I was traveling all around Scotland. To say Scotland is the most gorgeous place I’ve ever been would be an extreme understatement. Every single place I visited in the country was beyond spectacular. It seriously felt like I was traveling in a dream. So, so beautiful. I actually went with my brother, four other people from school, and three chaperones. It was an Explorica tip through school and it was such an amazing experience. So, the first day we arrived, we got into Glasgow at 6am local time. We then hopped on our bus and traveled to these ginormous horse sculptures called Kelpies. They were absolutely beautiful, but I think we were all a little too jet lagged to fully appreciate their beauty. After we visited the Kelpies, we hopped back on the bus and traveled to a gorgeous church and cemetery. Next, we went to the city center of Glasgow to wonder around and grab lunch. We then traveled all around Glasgow learning about the history of the city and looking at the monuments from the comfort of the bus. Everyone in the group was trying their hardest to not fall asleep, unsuccessfully. Jetlag really sucks. We then arrived at our hotel, ate dinner, and passed out. I’m pretty sure everyone on the trip was in bed and asleep at 9pm.
So the first day was relatively uneventful, but got us all very excited for our next week in the beautiful country of Scotland.
Day two was spent driving to the Highlands where we would spend the next three days and two nights. The drive was absolutely spectacular and we stopped at a gorgeous lake and a few other pretty spots. I can’t even begin to describe how gorgeous Scotland is. 360 degree beauty, for real. We then arrived at the cutest little hotel and wandered around the tiny village that we were staying in. I swear, it was so tiny I probably saw four locals the entire time we were there. One of the highlights of the Highlands was definitely the chance to visit Loch Ness. I convinced our tour guide to let us take a ferry ride on Loch Ness and it was absolutely, hands down, worth it.
After three days in the Highlands, we traveled to Edinburgh. This city is absolutely gorgeous and if you have the chance to visit Scotland, I totally recommend it. The nice thing about our trip was that the counselors let the students wander around the city by ourselves (we just had the buddy system rule) and it really allowed us to feel immersed in the city and not feel like we were on a boring walking tour. While in Edinburgh we went on an underground city tour, climbed up the Gothic Rocket, ate at a ton of little restaurants, shopped in a ton of cute boutiques, and just wandered around aimlessly. I wish we had more time to explore the city because there were so many hidden gems.
On the last day of our trip, we visited St. Andrews. Home of the famous golf course, castle, gorgeous views, and birthplace of the meeting of Will and Kate. I was hoping to find my prince, but unlike Kate, I was unsuccessful. Like I mentioned before, Scotland is seriously the most beautiful country with the most beautiful cities, but St. Andrews stole my heart. It was seriously so beautiful, quaint, home-y, and beachy all in one. If I had a choice of any city to grow up in, I would definitely have picked St. Andrews.
All in all, my Scotland trip was an amazing experience. I wish I could put into words how awesome of a time I had, but I just can’t. It was too perfect. I’m so thankful that I had this opportunity and totally recommend Scotland as a place to visit. I’ll now leave you guys with a ton of pictures!
If you want me to do a post on the "must see" things of Scotland, let me know! Thanks for reading! xox Chloe

