The rage with cronuts by Dominique Ansel's Bakery are are being followed up by his hugely popular milk and cookie shot. Recreating his cookie shot is right up there at the top of our list of favorite recipe posts (along with how to make glitter lollipops and the best cake pops) we've brought y'all, because somebody (us!) had to taste test every single chocolate chip shot to make sure it was up to par. And we now have a signature dessert to bring to book club, Kentucky Derby parties, wedding showers, well… just about any party. And clean up is a snap: just down the milk and eat the shot glass. Couldn't be easier.
Although there are a variety of recipes we tested, we're sharing our winner: the most simple one that didn't leak and didn't involve an extra layer of glaze to seal the cookie. (But there are glazes below.)

Ingredients:
chocolate chip cookie mix
mini popover pan
tinfoil
corks
shot glass
flour
milk
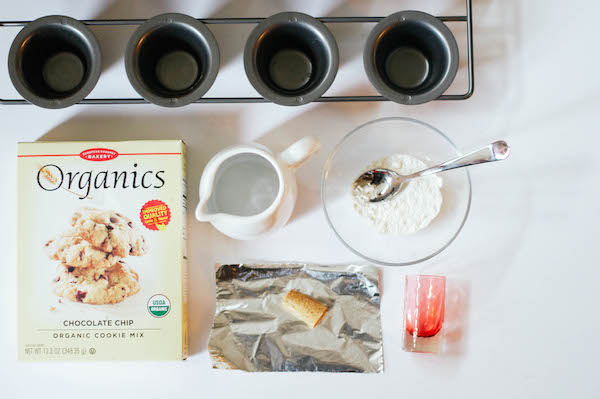
Directions:
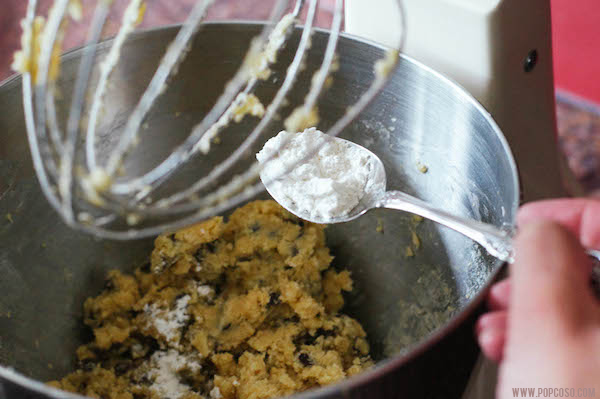
Follow the directions of your cookie mix or use your own chocolate chip cookie recipe. However, add flour to your mix after you have completely mixed yours together. We added between 1/4 - 1/2 cup to ours in order to create a dense cookie mix. Then mix in the flour.
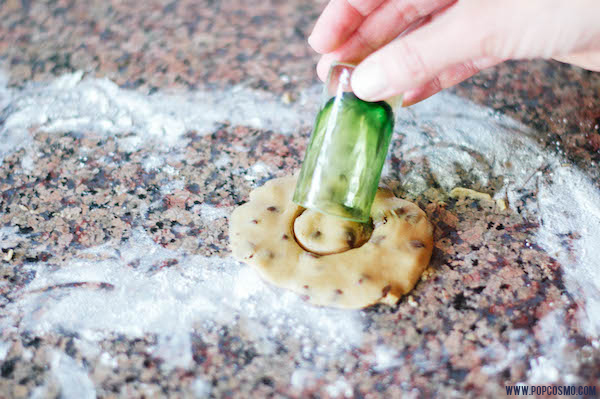
Roll out some of the dough about 1/4" thick and use the shot glass to cut circles. Place the circles on the bottom of each popover mold.
Take pieces of dough and roll into a ball, then a log shape, then flatten and place in a the popover mold being certain to attach it to the circle on the bottom so that no milk will leak through the seam. You'll see that our cookie shots are rather thick. This is intentional! They are thick and dense (and yummy!) and why no glaze is required.
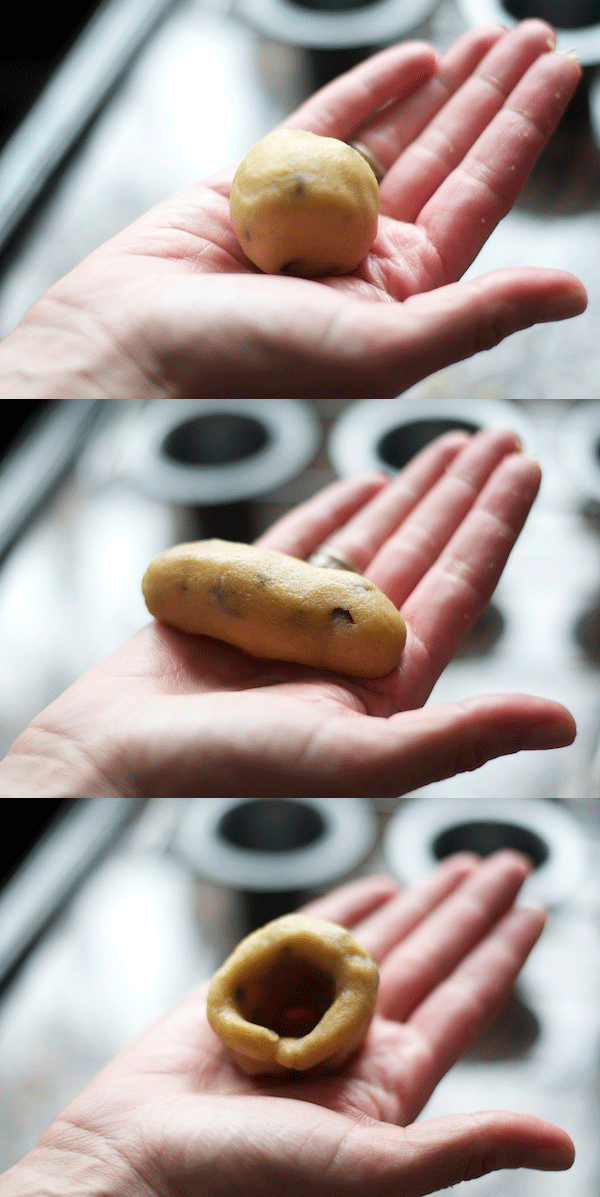
Take your cork and roll it in tinfoil, then place it in the center of each cookie shot. This will prevent the cookie shot from falling into the center.
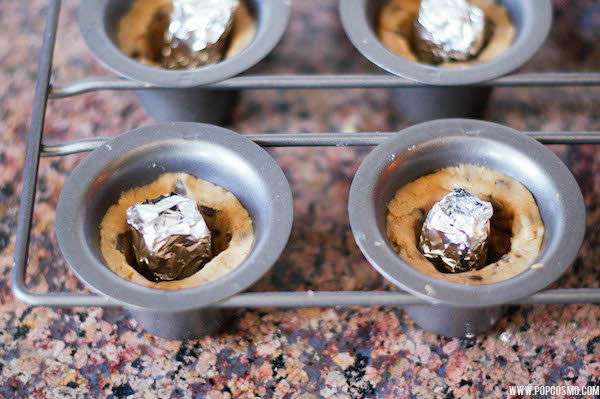
Bake until brown, or like us - the maximum time suggested, and let cool.
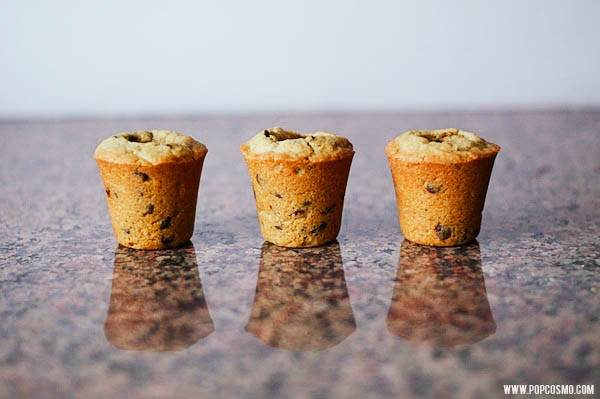
If you would rather have a thinner "shot" wall, then you might need a glaze. Whichever you choose, be sure to coat the inside of the "shot" well so that there are no cracks and pour off any excess. You can use:
- dark chocolate and melt it. Pour and coat bottom and sides, then chill.
- magic shell for ice cream. Coat all sides and bottom, let harden
- confectioner's glaze: a little bit of confectioner's sugar + a small amount milk + vanilla. It should have the consistency of thick paint. Paint it on the inside with a clean paintbrush. Chill overnight, then bake for 5 minutes (so you might want to initially bake your shot for the minimum amount of time or until just barely brown).
Add milk (or kahlua or...) and enjoy!
FYI: we let our chocolate chip cookie shot hold milk for 4 hours in the refrigerator for the sake of testing. We couldn't wait any longer in our taste testing gorge-fest to see how long these would last. They were far and away the best cookie shot glass recipe we made: no leaks, fabulous consistency & no need for a glaze. Plus, we realized that if the milk sits a while, it makes them taste like chocolate chip cookie cake. Yum.
Enjoy and let us know how your shots taste!
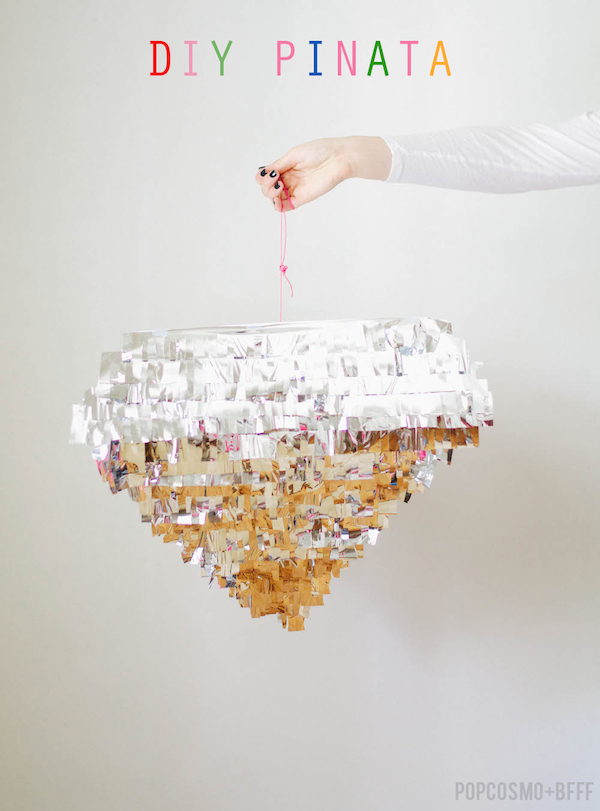 We are so excited about our DIY Diamond Piñata that we created. Although we always say our latest DIY is our favorite, we really think this one is since it's big, shiny, packs a statement, is shaped like a diamond, and... can be filled with candy. What more in life could you need than an enormous candy-filled diamond piñata? We happen to like our diamond pinata just for decoration in our office, but the possibilities are endless: cinco de mayo, wedding showers, weddings, bachelorette parties, sweet 16....


