Popcosmo

DIY

DIY Camera Lens Cap

DIYKim & ChloeComment

We've made camera straps, but I've never touched my camera when it comes to DIY. Seriously, how could you DIY your camera? Well, I found a way (you knew I would) with a DIY lens cap. I think these would even make my brother smile and say cheese instead of making his usual silly face. DIY Donut Camera Lens Cap

Supplies: Snap on lens Cap* Cricut vinyl (Happy note: Cricut vinyl is on sale through 3/4!) Cricut transfer tape (for "say cheese") Cricut Explore *We ordered a plain lens caps here. To determine what size you need you can find it by looking on your lens for the symbol Ø with a number next to it. This number is the size in millimeters of your filter threads, which is the size cap you need. This marking typically appears either on the rim of the front of your lens, or on the side of your lense barrel.

Instructions:

If you’re using a Cricut Explore, use Cricut vinyl to create the camera lens caps. Directions are below.  Otherwise, you could use an Exacto knife or punches to cut out the shapes that you want to create.

1. Open up Cricut Design Space and click “New Project” 2. Then click “insert images” 3. Search “donut” and find one that you like! (We used the donut part of Studio DIY’s and created our own frosting.) 4. Then click “insert image” 5. After it’s on your canvas, highlight the image and look at the bottom of your layers palate and click “ungroup.” 6. Then delete the frosting layer. (This is what we did, but feel free to leave all of Studio DIY's donut - hers is so cute, but we had created our idea before hers was available, and then printed the day it became available, so we wanted to use part of hers and ours to see how it looked! Of course hers is amazing!) 7. Next click “upload image” and then find your frosting layer. We simply drew our sprinkles on with Sharpies since they would have been tiny little dots! Here's our file you can upload.

donut lens cap 8. Next, measure the size of your lens cap and make your donut and frosting that size. 9. Then click the “Go” button and follow your on screen instructions.

Camera Lens Cap

To create the "Say Cheese" you would find a picture in Step 3 of cheese or cheese pizza or whatever cheese-y. Then use text and transfer tape to print & apply the words "Say Cheese."

It’s as simple as that! And the results are fun and different, and just might make someone smile. If you make one of these camera lens caps (or your own version), be sure to tweet or Instagram us a picture. We’d love to see your creations.

xo ~chloe


DIY Jewelry Tray

DIYKim & Chloe-8 Comments

Like mother, like daughter: we tend to wear the same jewelry day in and day out. Occasionally, we'll change it up for a big occasion. But we both are a bit careless when we take our jewelry off at night, I set it my bathroom and Chloe sets her jewelry on her nightstand, both of us always with the thought of "I hope I don't accidentally knock anything off." This cute little tray solves our problem and we'll definitely be a few others and placing them around the house, like near the sink when I want to take off my rings. It would also make a fabulous customized gift. Supplies: 1-Modge Podge Rocks Peel & Stick Stencil (We were sent this stencil & loved it, but there are 6 adorable designs) 2-Modge Podge 3-pouncer 4-glitter (we used this glitter tube and since nobody loves a glitter mess - this was the perfect solution to direct where glitter went!) 5-Cricut vinyl & transfer tape 6-Cricut tool to peel vinyl 7-small tray

Supplies

Directions: Apply Modge Podge Rocks Peel & Stick where you want your design to be.

Apply Stencil

Use your pouncer to place Modge Podge over only the area of the design where you want the glitter to be located.

apply modge podge

Lift the stencil and squeeze and direct glitter onto the area which has Modge Podge. Chloe and I love the glitter look, yet detest glitter clean-up. This was absolutely far and away the cleanest glitter project we have ever created! There just might be more glitter in our future, thanks to Amy at Modge Podge Rocks!!!

apply glitter

Repeat on the other side of the tray, or continue the pattern on all 4 sides. Once you have finished modge-podging all sides, place the stencil on the backing and rinse so that it can be re-used. Not only does Modge Podge rock, these stencils do too - they held the curved shape of our tray just fine.

jewelry tray

We then applied the Cricut vinyl (oh yeah, expect TONS more about our Cricut Explore to come very soon -we are experimenting right now, but will have loads and loads of projects for you in the near future!) for a simple, yet very effective jewelry tray and trinket tray. You could also apply a coat of Modge Podge over the glitter border to keep the glitter from flaking.

DIY jewelry tray

And that's it! No more searching for a ring here, and earring there anymore. You have all your jewelry in one place with our DIY jewelry tray. Hope you enjoy! xox ~kim & chloe


Disco Love Sign

DIYKim & Chloe-11 Comments

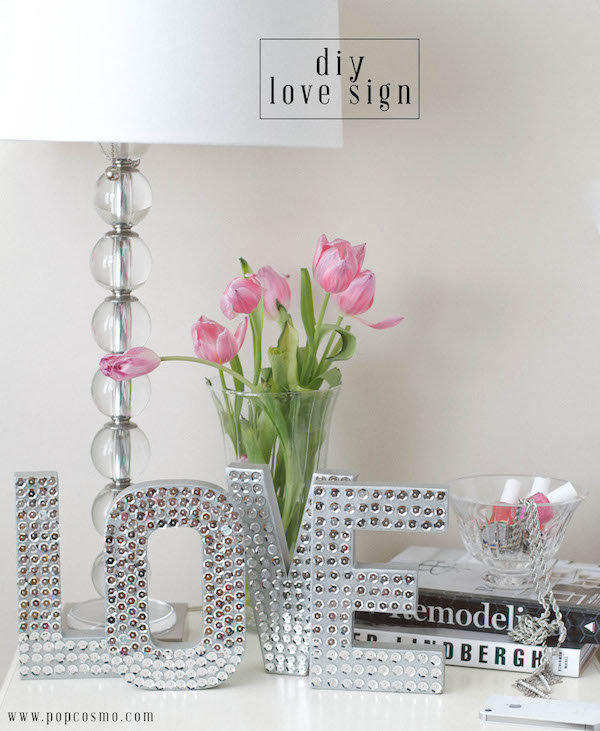
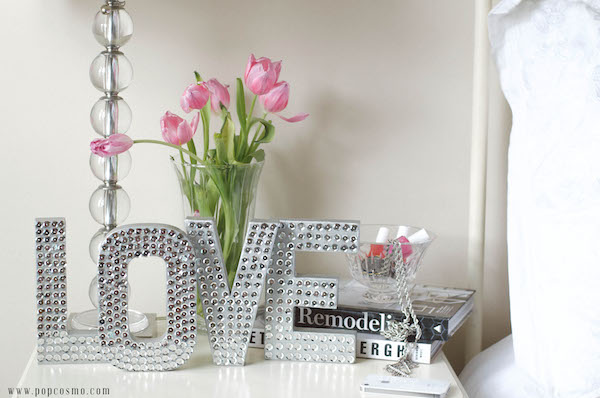
DIY Disco Sequin Love Sign | popcosmo.comWe just can't get enough of love… and since love is all you need (as the song goes) we're going a little crazy with our love signs. Plus, these silver sequins were just calling my name. Since y'all have been trying out the gold love sign, we decided why not give another love sign a try, but give our fingers a rest and make it easier? The result is just as spectacular and totally reminded me of a disco ball (the effect is something you have to see - it's hard to photograph how fun these letters are!), the directions just as simple, and your fingers will be happy that we don't use wood with this sign. Yes, it still takes some time to make, but I just caught up (once again) on tv shows. Win/win for crafting and a Downton Abbey weekend! Supplies:
Love Sign

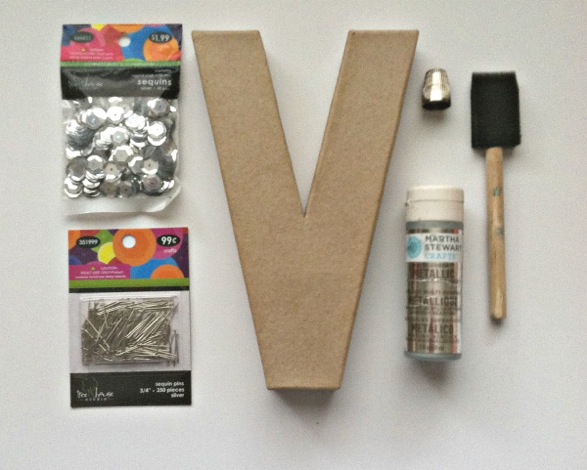
sequins - choose any color you like sequin pins - I had to return others - these worked the best thimble - used to push the pin into the cardboard. It's easy, but you'll definitely need one! cardboard letters - I used 8" size brush & paint in same color as sequins

DIY Love Sign | Popcosmo.com

Directions:

1. Paint your letters and let dry. 2. Pin sequins on letters. Space them as close together or as far apart as you would like for the effect you desire. Obviously, the closer together, the longer it will take. Note that the sequins on our L are closer together than the sequins on our E to give you an idea.

That's really it! Like I said, this is a VERY simple project, but a little tedious. To make it easier, I placed my sequins in a cup, my pins and thimble in another cup, and put them both on a tray with my letters to carry from room to room. I finished over the weekend and it was a project I picked up whenever I sat down to watch tv, whether on the couch or in bed. Each letter took about 45 minutes with lots of interruptions. Enjoy, and let us know how it goes!

xo ~kim