Popcosmo

RECIPES

Milk & Cookie Shot Recipe

DIY, EXTRAS, RECIPESKim & Chloe7 Comments

The rage with cronuts by Dominique Ansel's Bakery are are being followed up by his hugely popular milk and cookie shot. Recreating his cookie shot is right up there at the top of our list of favorite recipe posts (along with how to make glitter lollipops and the best cake pops) we've brought y'all, because somebody (us!) had to taste test every single chocolate chip shot to make sure it was up to par. And we now have a signature dessert to bring to book club, Kentucky Derby parties, wedding showers, well… just about any party. And clean up is a snap: just down the milk and eat the shot glass. Couldn't be easier. Although there are a variety of recipes we tested, we're sharing our winner: the most simple one that didn't leak and didn't involve an extra layer of glaze to seal the cookie. (But there are glazes below.)

DIY Cookie Shot recipe on Popcosmo.com

Ingredients: chocolate chip cookie mix mini popover pan tinfoil corks shot glass flour milk

Directions: Follow the directions of your cookie mix or use your own chocolate chip cookie recipe. However, add flour to your mix after you have completely mixed yours together. We added between 1/4 - 1/2 cup to ours in order to create a dense cookie mix. Then mix in the flour.

Roll out some of the dough about 1/4" thick and use the shot glass to cut circles. Place the circles on the bottom of each popover mold.

Take pieces of dough and roll into a ball, then a log shape, then flatten and place in a the popover mold being certain to attach it to the circle on the bottom so that no milk will leak through the seam. You'll see that our cookie shots are rather thick. This is intentional! They are thick and dense (and yummy!) and why no glaze is required.

Take your cork and roll it in tinfoil, then place it in the center of each cookie shot. This will prevent the cookie shot from falling into the center.

Bake until brown, or like us - the maximum time suggested, and let cool.

If you would rather have a thinner "shot" wall, then you might need a glaze. Whichever you choose, be sure to coat the inside of the "shot" well so that there are no cracks and pour off any excess. You can use:

  • dark chocolate and melt it. Pour and coat bottom and sides, then chill.
  • magic shell for ice cream. Coat all sides and bottom, let harden
  • confectioner's glaze: a little bit of confectioner's sugar + a small amount milk + vanilla. It should have the consistency of thick paint. Paint it on the inside with a clean paintbrush. Chill overnight, then bake for 5 minutes (so you might want to initially bake your shot for the minimum amount of time or until just barely brown).

Add milk (or kahlua or...) and enjoy!

FYI:  we let our chocolate chip cookie shot hold milk for 4 hours in the refrigerator for the sake of testing. We couldn't wait any longer in our taste testing gorge-fest to see how long these would last. They were far and away the best cookie shot glass recipe we made: no leaks, fabulous consistency & no need for a glaze. Plus, we realized that if the milk sits a while, it makes them taste like chocolate chip cookie cake. Yum.

Enjoy and let us know how your shots taste!

Cupcake Toppers

DIY, EXTRAS, RECIPESKim & Chloe7 Comments

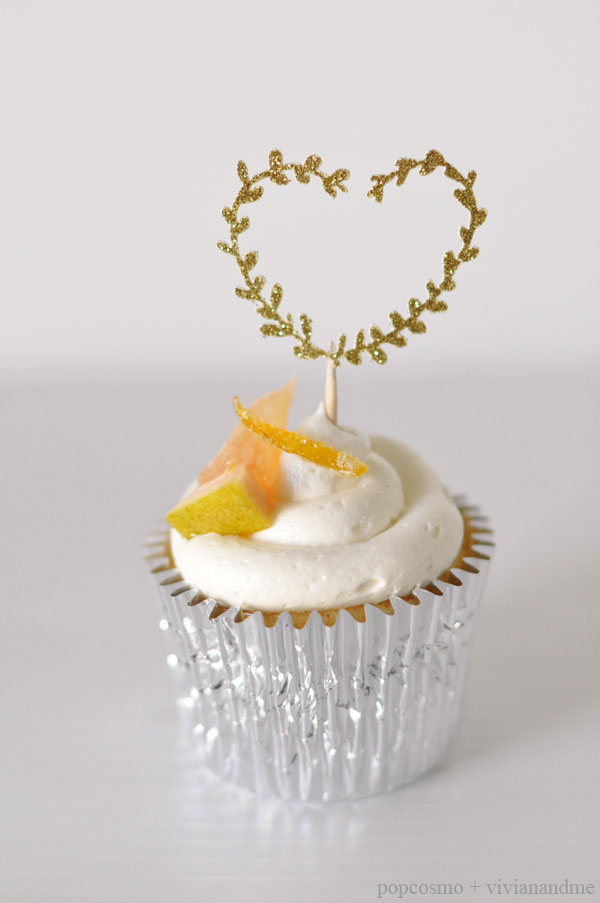
cupcake toppers Cupcakes are the cutest of desserts: a mini cake that you don’t have to share. Because when it comes to dessert, sharing isn’t fun, it’s stealing. One thing I love seeing lately are cake toppers. They are such a cute way to add a little extra something special to a cake. A cherry on top, if you will.

However, I haven’t really been seeing anything that goes on top of cupcakes. I mean there are those cheap plastic rings that grocery stores put on top of their cupcakes, but those don’t really count. So I thought to myself, “wouldn’t it be fun to make a little something for the top of cupcakes.” And because this thought seemed rather rational compared to my other ones (ie “is a banana still edible if you spray paint the outer peel and then eat the inside?” or “if the sun was black would the sky be black or just a darker blue?”) I decided that I should make a few cupcake toppers!

cupcake topper DIY

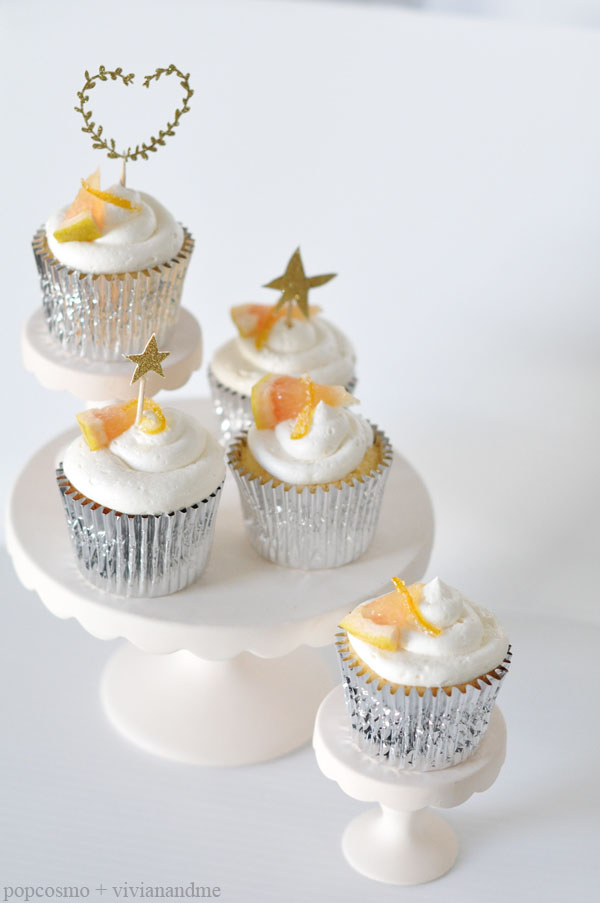
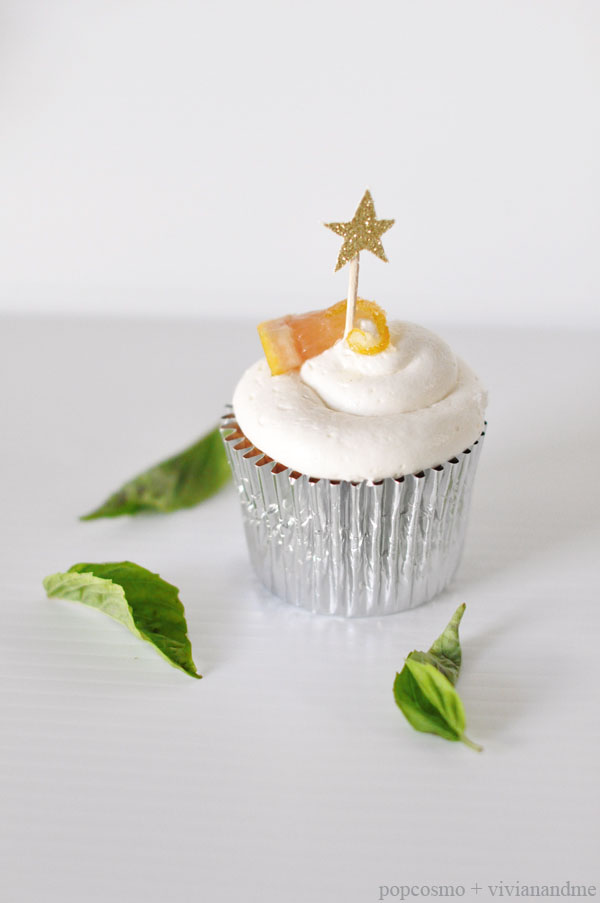
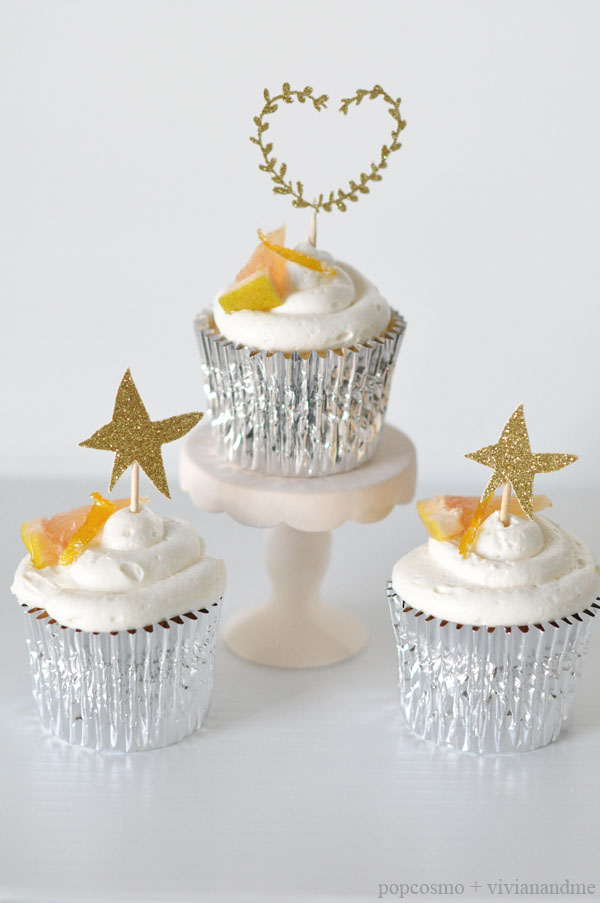
The star is a classic shape, & when you make the star gold you can channel your inner Rachel Berry, from Glee, because she puts a gold star on everything she likes. Plus, I’m assuming she likes cupcakes, so we’re actually just helping the Rachel Berry cause. I also thought we could get more intricate and make a trendy leaf heart shape.

And aren’t these cupcakes just absolutely gorgeous? We partnered on this post with our fab friend Hunter, of Vivian & Me, who writes a blog about allergy-friendly food recipes. I can not wait to try out these insanely gorgeous basil infused pink grapefruit cupcakes that have a vegan buttercream frosting and candied grapefruit on top! So be sure to stop by her blog for the cupcake recipe &  more amazing, mouthwatering, insanely yummy recipes (buffalo chicken dip, anyone?). And tell her we said "hi!"

Grapefruit-Cupcakes

Directions for toppers:

With the brand new, awesome Cricut Explore (it's on sale right now!): 1. Insert a picture of a star to your Cricut Design Space (we drew our own in Photoshop so it would look kind of rustic and imperfect). If you would like to create our heart & leaf shape, we’ve attached the file below so that you can upload it to your Design Space 2. Print it out on your paper of choice - of course we chose glittery gold! 3. Hot glue the shape to a toothpick 4. Let it dry 5. Then decorate your cupcake until it looks like a masterpiece - maybe Hunter at Vivian & Me has some tips on piping icing that we'll share soon ;)

xo ~chloe

Cricut leaf heart


cupcake topper

Candy Lollipops, Part 2

DIY, EXTRAS, RECIPESKim & Chloe3 Comments

candy lollipops

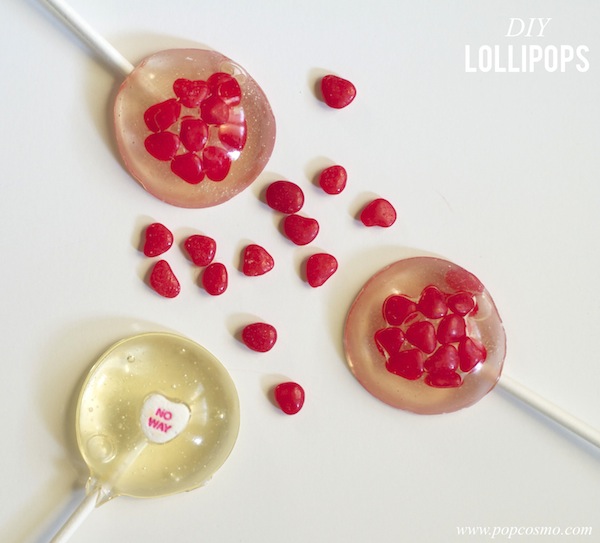
We're back with more lollipop ideas! We had so much fun making glitter lollipops, that we decided to get even sweeter this time around with candy lollipops. They're easy to make (see the recipe here) and you just add in the candy you like - so we chose red hots and candy hearts for Valentine's Day. This time around we decided to use  candy molds which gave our lollipops the perfect round shape. Our friend, and newbie blogger Christy at The Bourbon Blush {be sure and show her some love} lent us her candy molds, but you can find them here: balloon sucker molds or round sucker molds.

Have fun cooking up a sweet treat and enjoy your candy lollipops!

making candy lollipops


http://www.popcosmo.com/wp-content/uploads/2014/01/hearts- .jpg

Glitter Lollipops, Part 1

DIY, EXTRAS, RECIPESKim & Chloe23 Comments

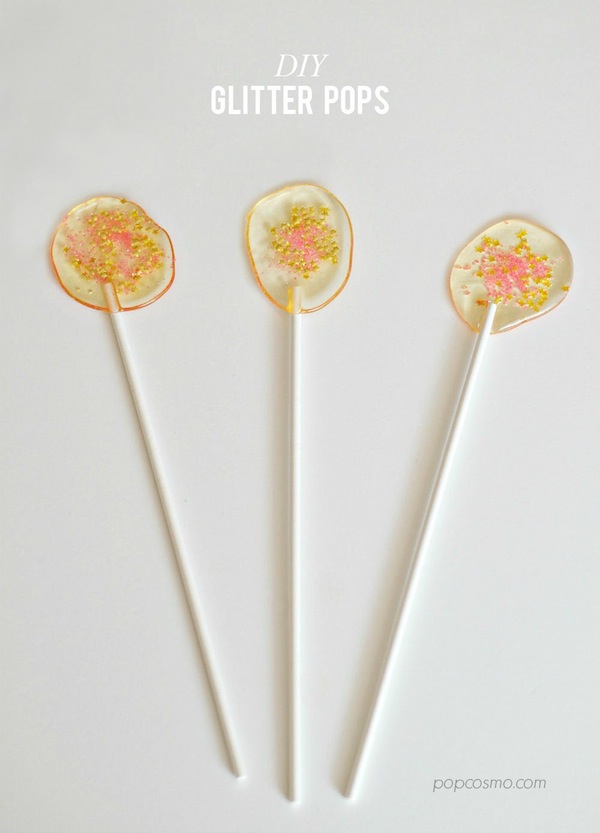
DIY Glitter Pops

As a lover of all things Etsy, all things gold, and anything glittery that doesn't make a mess, it was true love when I discovered Sweet Caroline Confections glitter lollipops. Of course, the first thing that popped in my head was, "I could make those!" Typically, you know the drill, about 50% of our DIYs never make the pages of our blog, but make good stories for Chloe and I to laugh about… later. Once we get over the frustration of having tried to recreate something. But these glitter lollipops are fun and easy to make, and color customizable like our Marshmallow Pops.

Even if our Glitter Lollipops aren't the perfectly round, clear perfection we saw on Etsy, ours are perfect for Valentine's Day (or just change the glitter color and customize them for any occasion, from weddings to prom parties to baby showers, reveal parties, and bar mitzvahs). The possibilities are endless, which is what we adore about the this glittery confection, besides the fact that it only has a few ingredients and is simple to make once you master the technique of the what I prefer to call the "slow pour."  So let's get started!

Glitter Lollipops

Ingredients:

2 cups white sugar 2/3 cup light Karo corn syrup 1/4 cup water edible glitter of your choice {you will also need lollipop sticks, a candy thermometer, and a bowl partially filled with ice water set aside}

Directions:

1. Prepare your work area since it is important that once your candy has finished cooking you can work quickly:

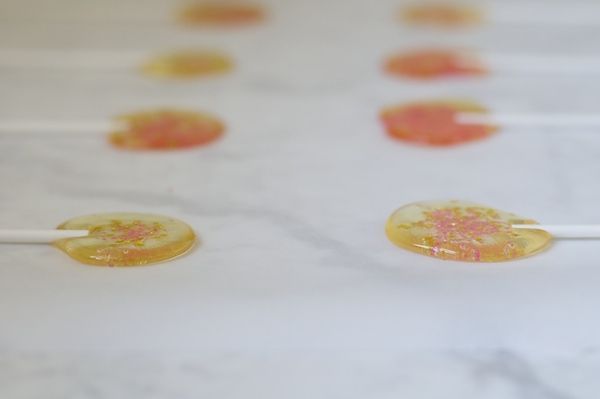
a. If you have granite or marble countertops, lay parchment paper directly on them in long strips. We found this the best method to work quickly. If not, then use cookie sheets lined with parchment paper. (Note: we tried using Silpat, but ended up with a pattern on our lollipops from the sheets. Yours may not make a pattern, so feel free to try it!)

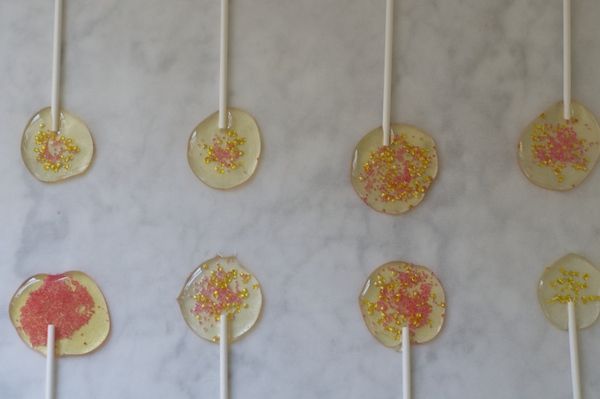
b. Sprinkle your glitter in 3" circles about 3" apart in 2 rows so that lollipop sticks can face in opposite directions and lay completely flat. If you are using candy, then you can place candy into the lollipops after pouring.

2. Place sugar, corn syrup and water in a saucepan with a pouring spout. Stir until the sugar is dissolved while bringing to a boil.

3. Once boiling, place your candy thermometer in the pot and use a pastry brush to wash down the sides so crystals don't form.  Do not stir, but boil until mixture registers 300 degrees to 310 degrees (hard-crack stage) on a candy thermometer, about 5 - 7 minutes.

4. Remove from heat and set in the bowl partially filled with ice water for 15 seconds. It will steam loudly! You want most of the air bubbles to be gone, but don't want the mixture to cool off to much because then it won't pour well - and it cools very quickly!

5. Pour very slowly in the middle of each glitter circle until a circle is formed and press in lollipop sticks. Let sit until completely cooled.

How to Make Glitter Pops - step 5

DIY Glitter Lollipops

Note: I did re-warm the syrup over the lowest heat to soften it slightly when it began to harden. Also, clean-up is easy if you soak everything in very hot soapy water.

Recipe adapted from MarthaStewart.com 

And, if you noticed the title, it says Part 1, so yep, we had so much fun making these, that we'll be back for more ideas after we order a few supplies (hint-hint) for more Glitter Lollipop goodness!

xox, Kim

IF YOU ENJOY THIS: check out our Calligraphy Made Easy & Drink Stirrers


Garlic & Potato Soup

EXTRAS, RECIPESKim & ChloeComment

Garlic & Potato Soup One of my all-time favorite foods is mashed potatoes. I could eat them every day, but this soup is even better. It's basically mashed potatoes in soup form, with the added bonus of roasted garlic. I also love roasted garlic; some people consider it the candy of the vegetable world. I wouldn't take it that far, but it sure is delicious. It adds a slight sweetness to the soup and adds to the velvety texture. Vegans and vegetarians can enjoy it, too, since you can use either vegetable or chicken stock. It couldn't be easier, and it couldn't taste more delicious!

Garlic Potato Soup 2
Garlic Potato Soup
Garlic Potato Soup

4 Heads Garlic

2 lbs Yukon Gold Potatoes

1/4 Cup Olive Oil

1 tsp Fresh Thyme Leaves

3 Shallots, Minced

7 Cups Chicken Stock

1. Heat oven to 400F. 2. Peel and dice the potatoes. Toss with 2T oil, thyme, 2 tsp salt, and pepper. Place on a greased, foil-lined baking sheet. 3. Trim the tops of the garlic heads and place on some foil. Drizzle 1T oil on the garlic and wrap to close the foil. Place on the tray with the potatoes. 4. Bake the garlic and potatoes for 15 minutes. Stir to flip, then bake for another 15 minutes or until the potatoes are tender. Remove the potatoes and continue roasting the garlic until tender and golden. 5. Heat the remaining oil in a large pot over medium heat. Add the shallots and cook, stirring, for 3 minutes. Add the potatoes, then squeeze in the garlic cloves. 6. Mash slightly, then add the stock. Bring to a boil, reduce to a simmer, and simmer, uncovered, for 5 minutes. 7. Puree the soup in a blender until smooth. Add more stock if necessary.

Serves 6-8, Recipe Adapted from Kosher Scoop

Golden Homemade Oreos

EXTRAS, RECIPESKim & Chloe9 Comments

How to make OreosNothing says kick back and settle in for the holidays than your favorite homemade recipe. And ours is a newfound favorite of an old, old love: Oreos! Who doesn't love to dunk an Oreo while watching a football game or hanging out with family, or twist off and scrape the inside filling? Even the most dessert-resistant among us, ahem, my Mom, can't resist an oreo {or 5} in a package. My brother & I decided to not only make our own, but to create the most irresistible version of homemade Oreos ever... and we think we did (we created 3 batches and taste tested each one)! Plus, you know how much I like gilding just about anything that isn't nailed down lately, so I bet you're not surprised that we've created Golden Homemade Oreos for the holidays! They are not only perfect for Hanukah, we think they are perfect for Thanksgiving, Christmas, New Years... well, you get the idea. Just don't count on them sticking around for long, especially if my Mom is around.
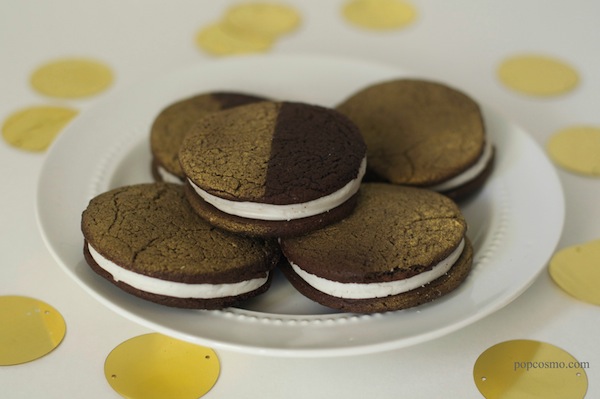
i love homemade oreos

Golden Homemade Oreos Recipe

Cookie: One box 16.5 to 19-ounce chocolate fudge cake mix 1/3 cup water 2 to 4 Tbsp shortening gold food color spray - we used Wilton Color Mist

Filling: 3-1/2 cups powdered sugar 1/2 Tbsp granulated sugar 1/2 tsp vanilla extract 1/2 cup shortening 4 Tbsp hot water

golden desserts

Instructions: 

1. Preheat oven to 325 degrees.

2. Blend all the cookie ingredients with an electric mixer, then knead with your hands until it reaches the consistency of dough.

3. Roll the dough until it's a bit thicker than Oreo cookie thin (since they will thin out when cooking) and use a round cookie cutter to cut circles (we used a bottle cap). Place cookies 1/2" apart on greased cookie sheets. Bake for 4-6 minutes, or until as firm as you want (shorter for chewy, longer for crunchy).

4. Let cookies cool while you work on the filling.

5. Combine filling ingredients in an electric mixer and then mix with your hands until fully combined.

6. Once well combined, form balls about 1/2" - to 3/4" in diameter.

7. Place the filling ball in the center of the flat side of a cooled cookie and press with the flat side of another cookie until the filling spreads to the edge.

8. Take a piece of Glad Press & Seal and wrap tightly around the cookie and spray to achieve a 1/2 gold - 1/2 black cookie. To create an all gold cookie, just lightly spray your cookie. You could easily use cutouts and place them on the cookie held in place with some icing to create all sorts of shapes, but we like simple geometric boldness in our cookies!

The amount of cookies will depend on the size of your cookie cutter. Our homemade Oreos were about 2" in diameter and made approximately 15-20 cookies.

Recipe adapted from More Top Secret Recipes by Todd Wilbur


And it's time again for our Holiday Extravaganza with our Fall Friends. Check out what some of our crafty blog friends have created this week for the fall & holidays and you might want to check in each Monday for more inspiration.

DIY dinner napkins on popcosmo

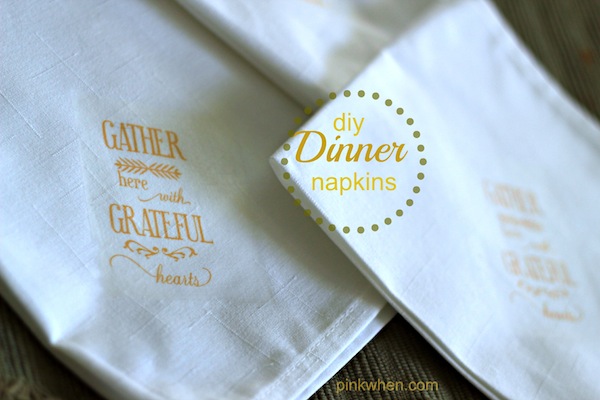
DIY Dinner napkins by Pink When

 Thanksgiving ideas | popcosmo

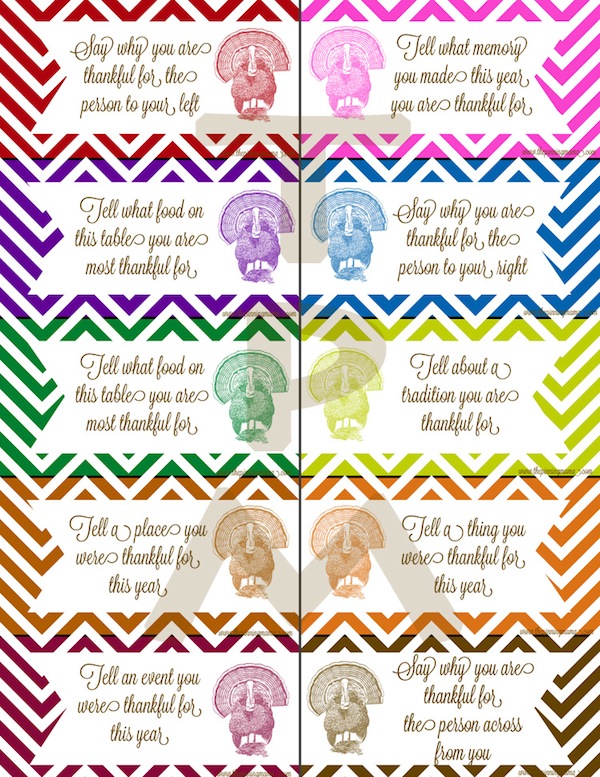
Thanksgiving conversation starter game (free printable) on The Pinning Mama

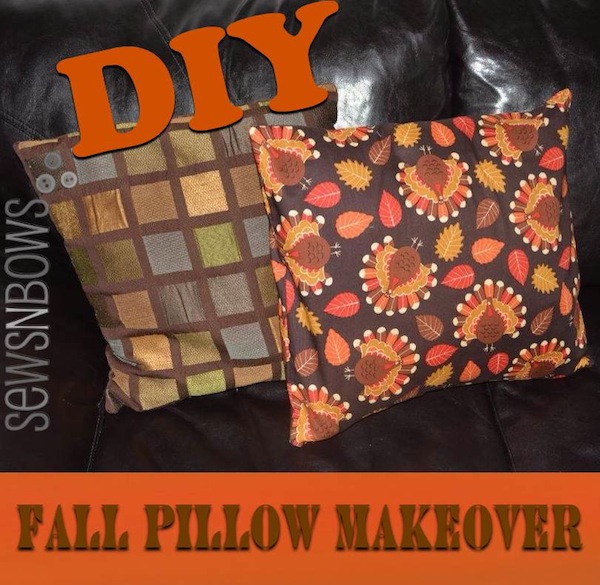
fall pillow makeoverFall pillow makeover on Sews N Bows

paper flower wreath

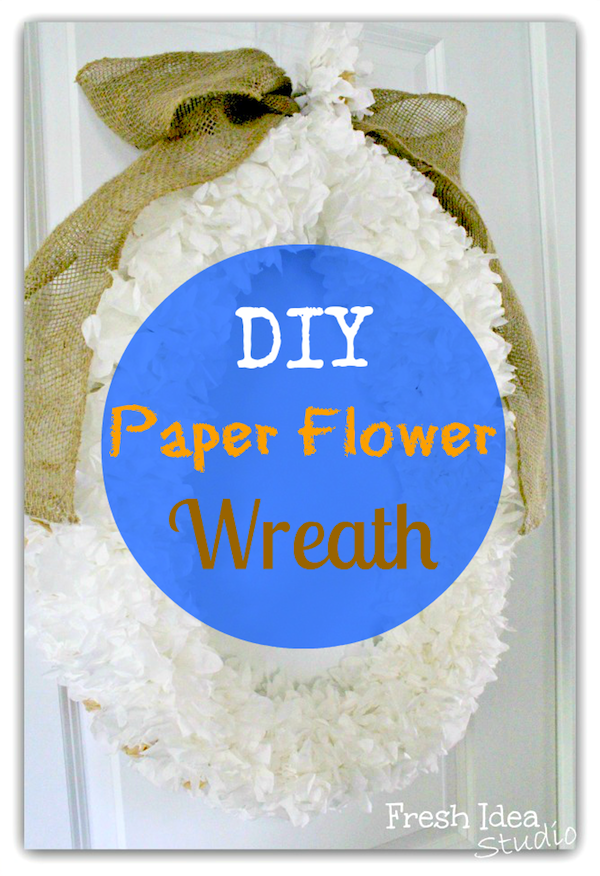
DIY Paper Flower Wreath by Fresh Idea Studio

http://www.popcosmo.com/wp-content/uploads/2013/10/OREOS-labelled .jpg